This feature is only available for BigMarker Events. Please contact our Sales team at Sales@bigmarker.com or your customer success manager to learn more
For any BigMarker event, you can configure many different aspects, from landing pages, to agendas, to networking features and more.If you're organizing an event that includes an in-person aspect, the BigMarker Companion App enables you to fully utilize these features for your live attendees.
In addition, attendees will have quick access to their QR codes that allow them to check into the event, sign up with exhibitors for perks, and exchange information with other attendees.
You companion app must be enabled and configured by the BigMarker team before the app will be available. Once the app is launched you will then be able to update the app from the BigMarker platform. Contact your customer success manager if you have any further questions.
Once the app has launched, you will be able to download it from the Google Play and Apple App Stores. Based on the settings you configure, either all users, all registrants or only some specific list of registrants will have access.
Table of Contents:
- Where to find the Companion App
- Designing the Launch Screen
- Designing the Login Screen
- Gate Access to the App
- Setting up the Check In
- Designing the Virtual Event Badge
- Designing your Homepage
- Setting up the Agenda
- App-Specific Session Settings
- Setting up Surveys
- Setting up the Networking Center
- Setting up the Expo Hall
- Applying a search filter to the Networking Center
Where to find the Companion App
Log in to BigMarker and visit the event admin of your event. In the left-hand menu, click on Onsite Experience and then on Mobile App.

Designing the Launch Screen for the Companion App
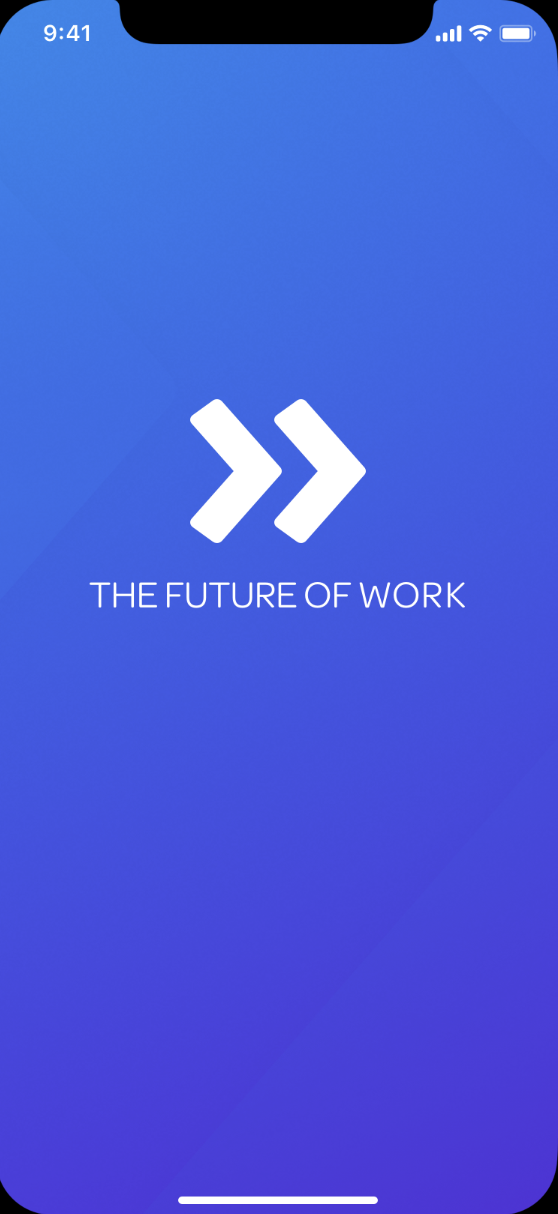
As part of the initial setup of your app, BigMarker can include an image to use as a launch screen. This screen is shown to your attendees as soon as they open the app. The dimensions to use for this image would be:
- iOS: 1242 x 2688, 1242 x 2208, 2732 x 2048
- Android: 1024 x 500
Designing the Login Screen
For the login screen, you have a couple of different settings you can use. In the main page of the app settings, look for the Mobile App Event Logo and upload an image. Then in the Design page of the event admin, look for Event Site Background so set a color, gradient or image to use as a background.
Here's how those elements appear in your mobile app login screen:

Gate Access to the Companion App
If you want only specific registrants to have access to the companion app visit the General settings in the Mobile App page and be sure Require attendees to log in to the app is turned on. Once you do, you'll have the option to select specific lists to have access. By default, the registration list from your Main Series will have access, which will be all registrants.

Setting up the Check-In
As part of your registrants journey, you can have them "check-in" and verify their information to use in networking during the event. These settings are similar to what you set up for the virtual event check-in.
After enabling check-in, you'll want to determine which Custom Registration Fields to include in check-in. look for the setting Only ask in registration Check In if you want a question to only show up in the check-in process. If you don't want a specific field to chow up in the check-in, turn on Do not ask in Check In. Otherwise, registration fields by default will always show in both your registration form and the check-in process.
Lastly, if you are using our Badge Scanner App and having attendees check in onsite, make sure you check off Show field in Printed Badge for the custom registration field to show up on the Event iPad for them to review and confirm their information. This field's answer will show on the attendee's event badge when checked off.

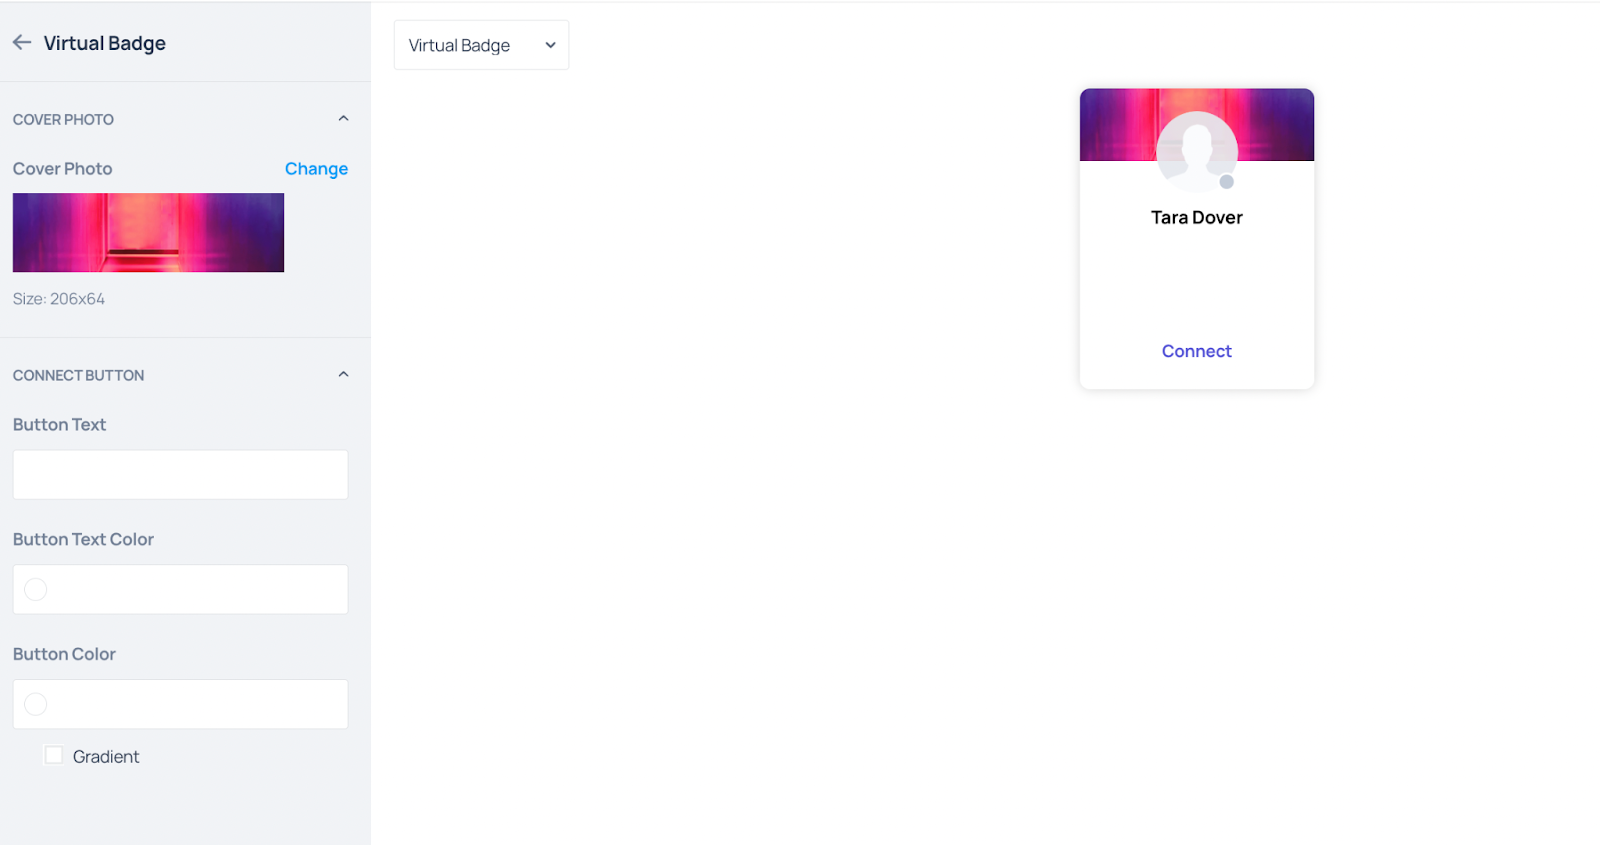
Designing the Virtual Event Badge
You have a few options to customize how virtual badges will appear to users in the mobile app. To do so, go to the Design section and click Open Badge Designer under Virtual Event Badge. Here you have the option to add an image and update the text shown on all badges.
After that, the customizations for the Check in are complete. You can opt for a Welcome Video and the QR code will be hard coded into the app. We do recommend creating a video of your own welcoming your attendees to the app and showing them how to use it.
Note: The Welcome Video must be hard coded into the app. To do so, please contact your BigMarker Representative to initiate this process with our Development team.
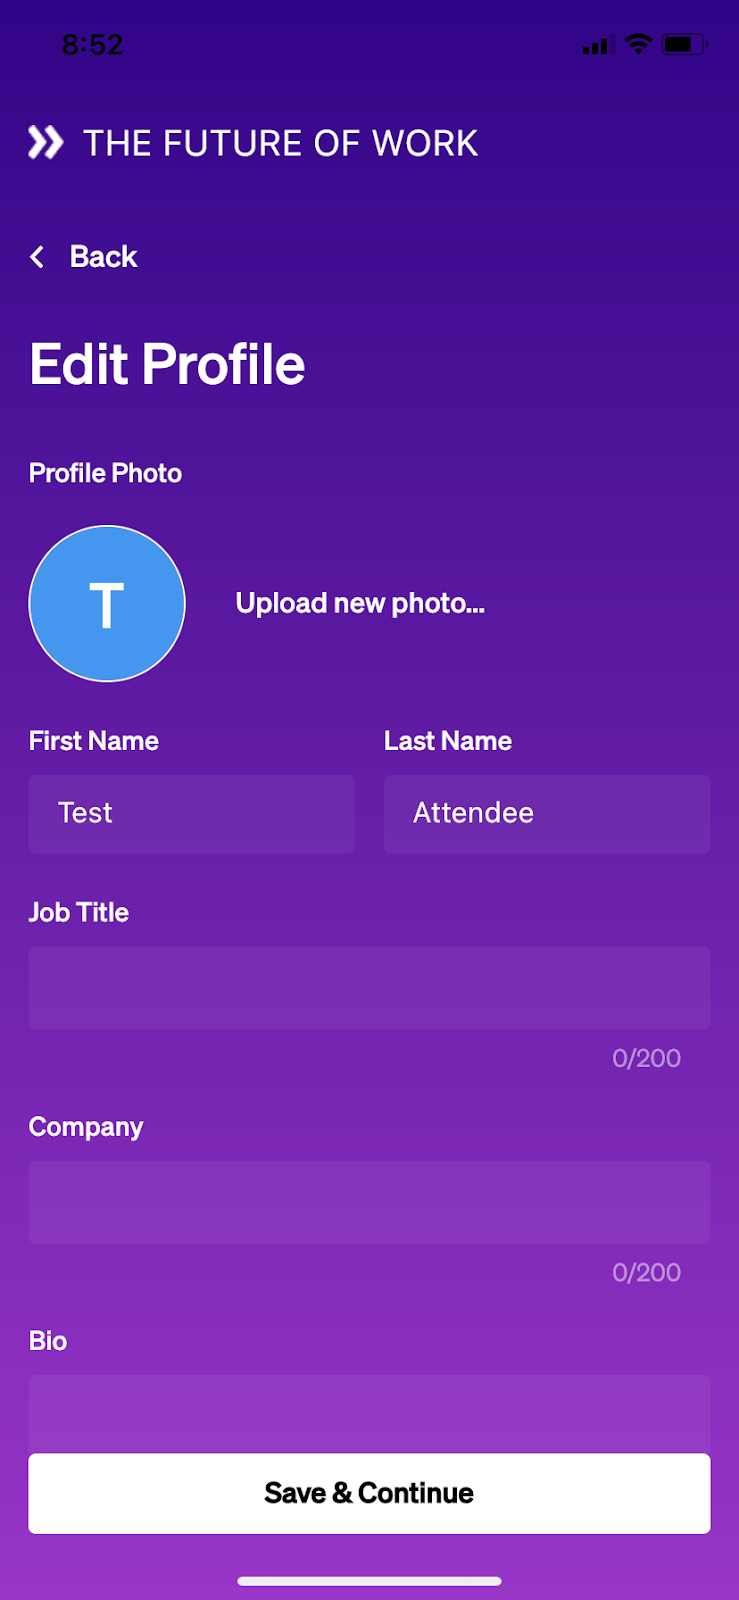
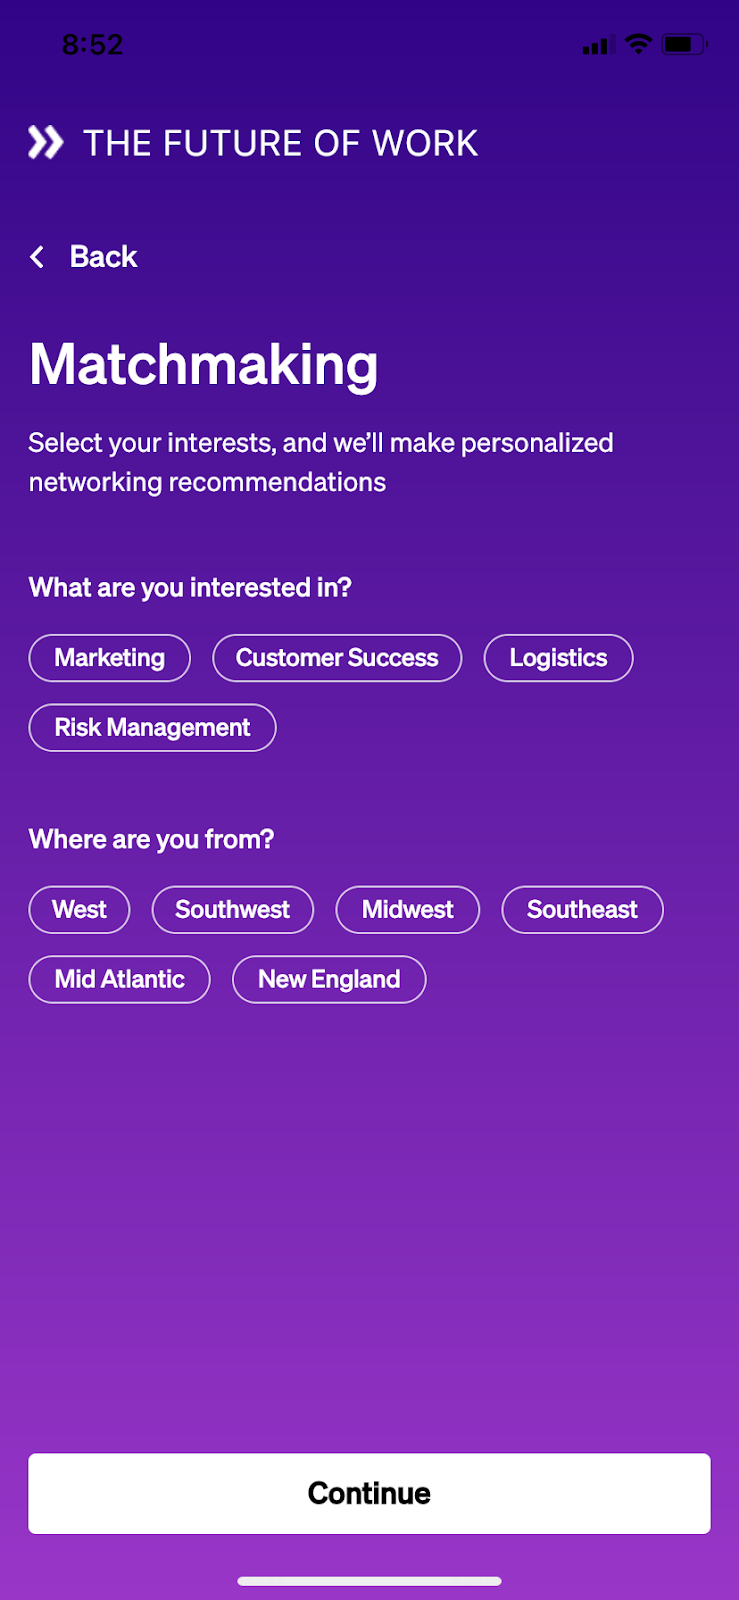
Here are examples of the Check In screens on the app:
- Event Badge 2. Edit Badge 3. Matchmaking 4. QR Code


Designing your Homepage
The home page is what your attendees see after opening the app and checking in. You have the ability to customize this page so that you can direct your attendees to exactly where you want them to go.
On the homepage you can add widgets that act as buttons leading the user to different parts of the event app, or even to other outside URLs.
Note: The app title, event logo image and background color are consistent across the login and check-in process and homepage.
For more detailed information on customizing this screen, click here.
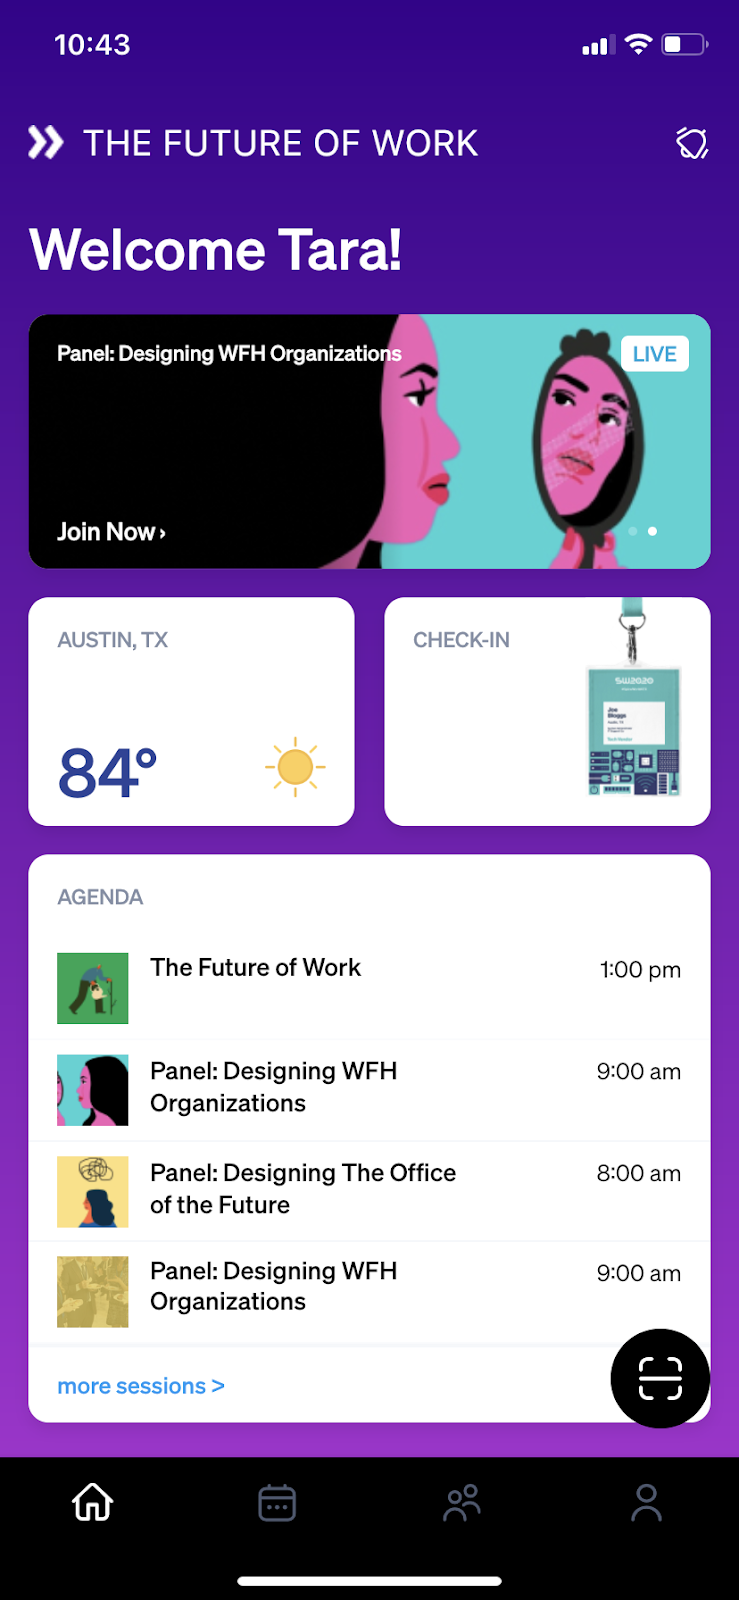
Here is an example of a Companion App Homepage:
Setting up the Agenda
Using the companion app, attendees are able to get all the information needed from the agenda. This agenda will mirror the one that you set up as part of your event, and will include a list of sessions, the ability to live stream virtual content, and look up the physical location of any given session.
Once you have an agenda, go into the Agenda section of the Mobile App settings and choose which agenda you want. You also have some options to display who has access to the agenda. By default it will be all registrants, but you can use a specific list of registrants, or only to users who are registered to the sessions.

A few key components to consider when setting up your Agenda:
- Time Zones can only be “time only” or “24 hour clock format”
- Happening Now Nudges show all the live sessions and are set with the Agenda series selected
- You can add Agenda Dates and Favorite Hearts to the Companion App
- The filters are taken from “agenda dates” and the categories will be set with those sessions associated.
App-Specific Session Settings
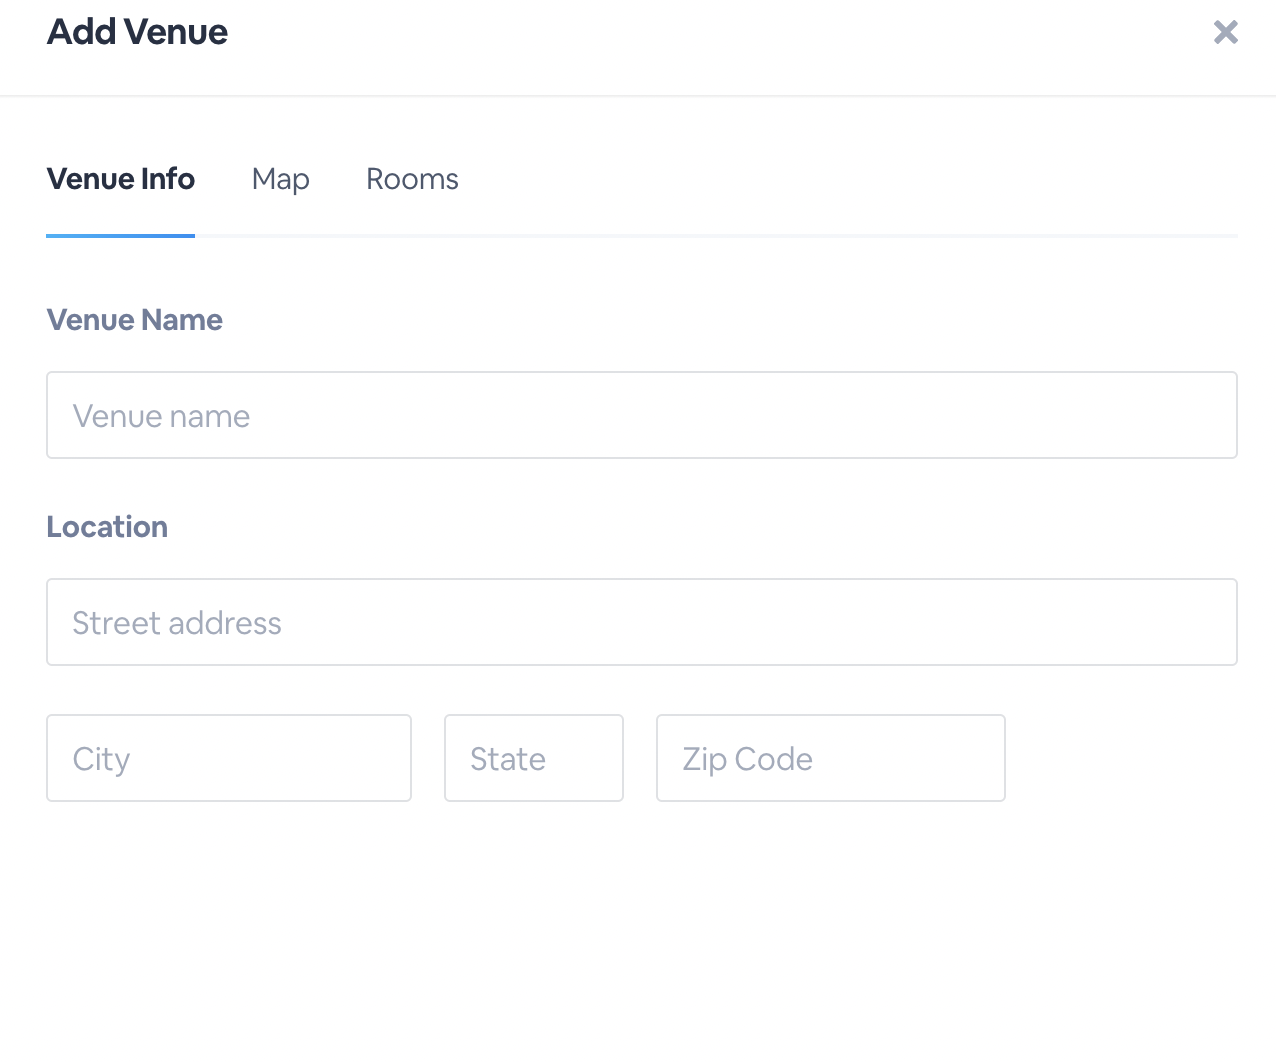
As part of the agenda, you will add sessions. This process is the same as adding them to your virtual event. For sessions shown in the app, you do have some additional settings, namely the ability to add venue and map information.
In the Mobile App page visit the Venue settings. Click add venue to get started.

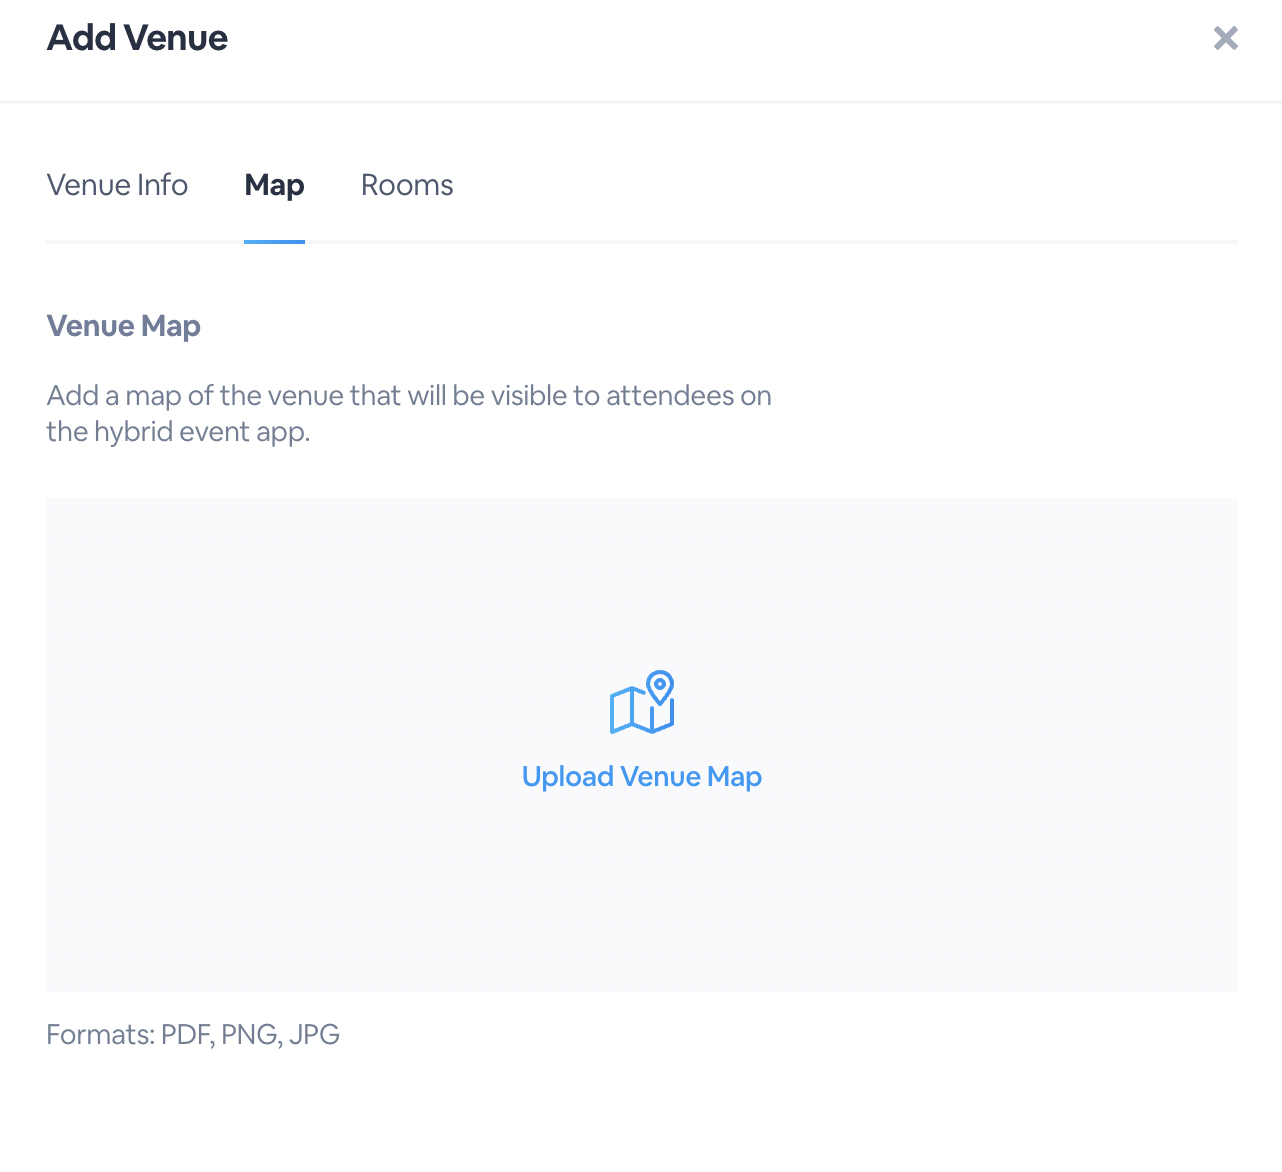
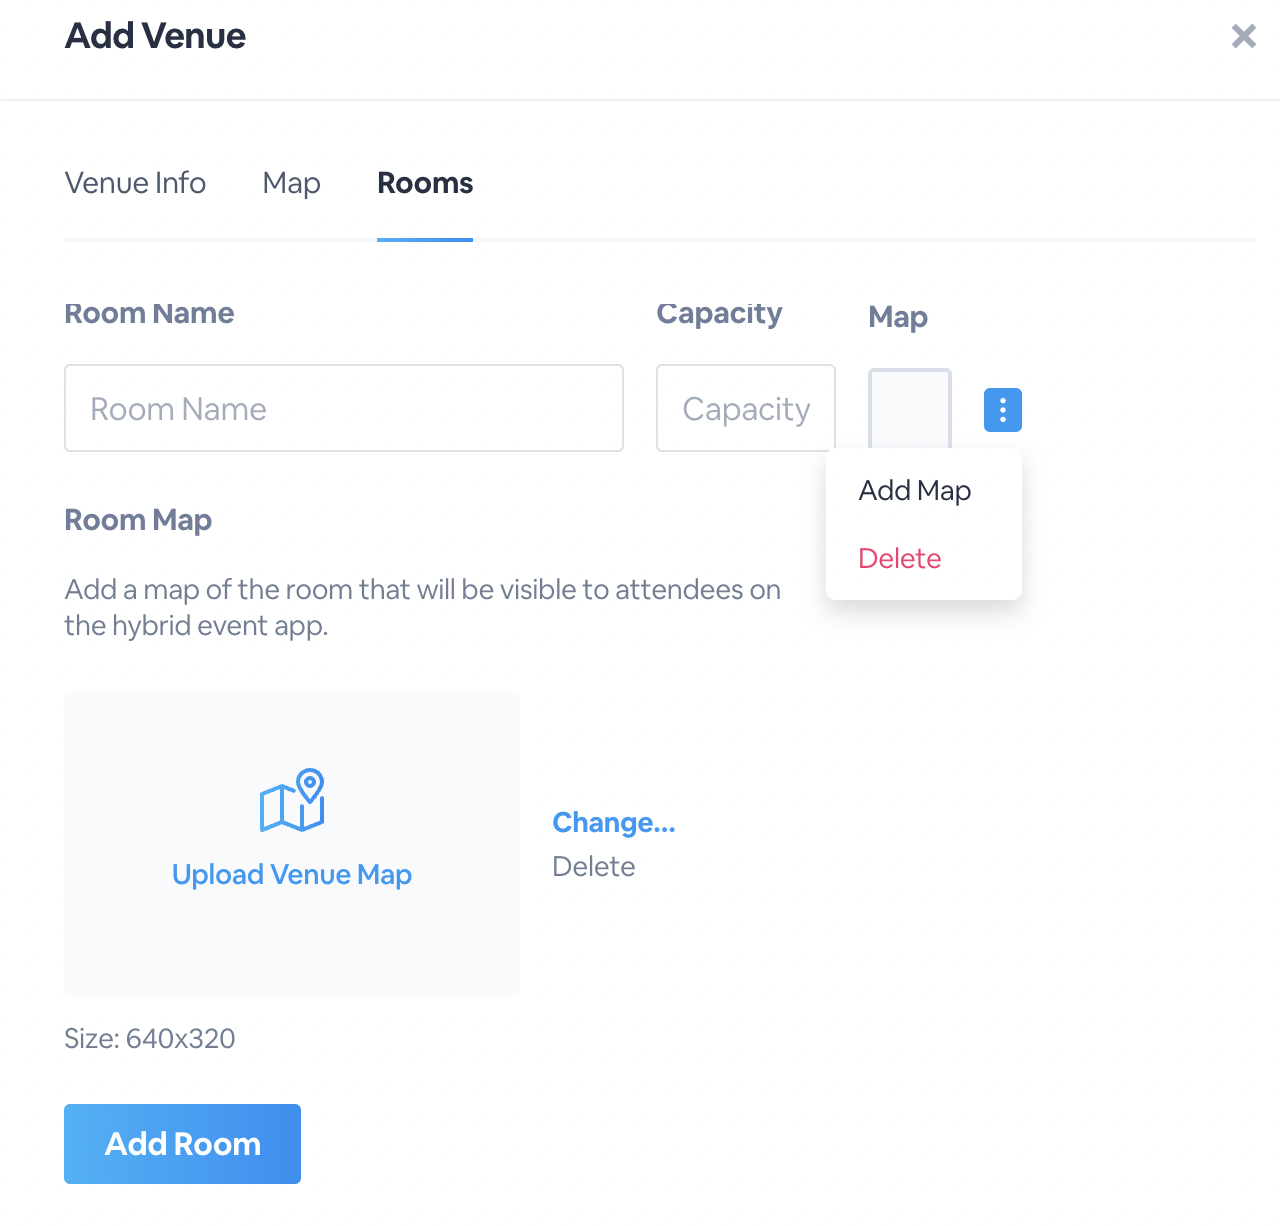
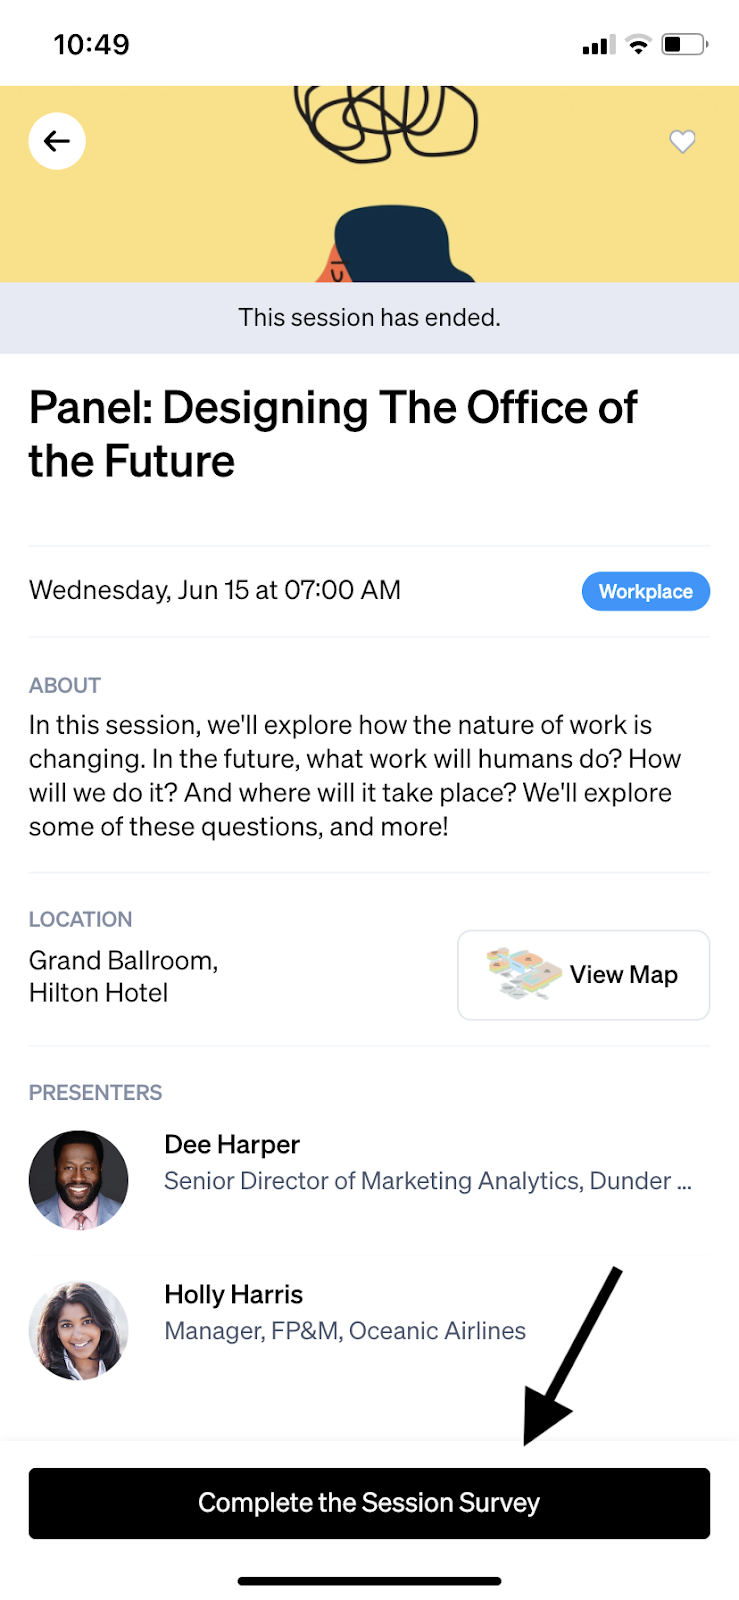
When attendees view a session in the companion app they can click on View Map. They will see the entire venue’s map while the second screen will show the individual room map.
Setting Up Surveys
Within sessions you can set up Surveys. You will need to contact your BigMarker Customer Success Manager to enable surveys within your companion app. You will need to contact your BigMarker Customer Success Manager to enable surveys within your companion app.
Go to the Sessions page of your event admin and find the session you awant to enable the survey for. In the Settings tab for the session, enable Hybrid App Survey.

Here is an example of a survey in the Companion App:

Setting up the Networking Center
Your attendees are able to connect and network with other attendees within the Networking Center. The Networking Center will operate the same as our browser-based Networking Center with additional features that include connecting via QR code.
How to Set up the Networking Center
Enable the networking center modules that you want to show to your attendees:

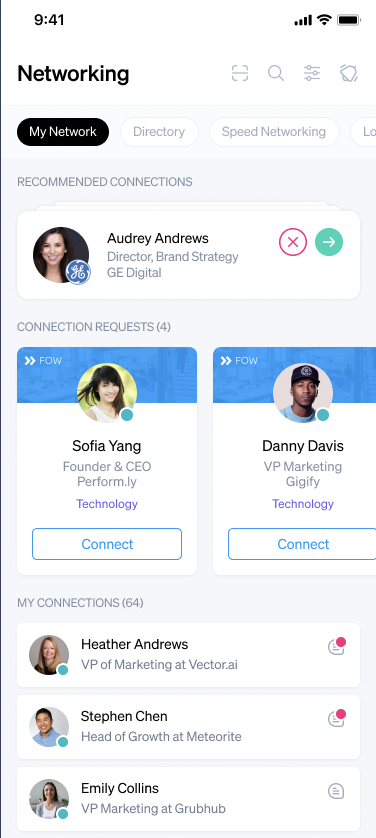
Now your attendees will be able to send connection requests, view a directory of attendees and chat with their connections.
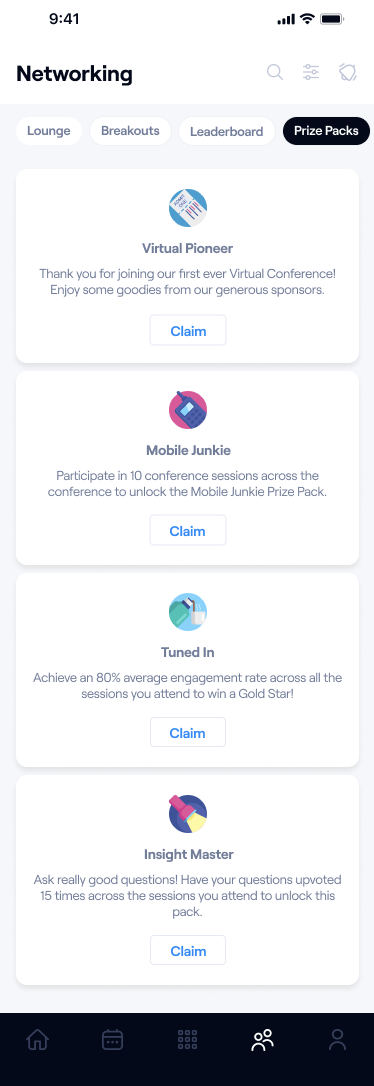
Here is an example of the Networking Center in the Companion App:

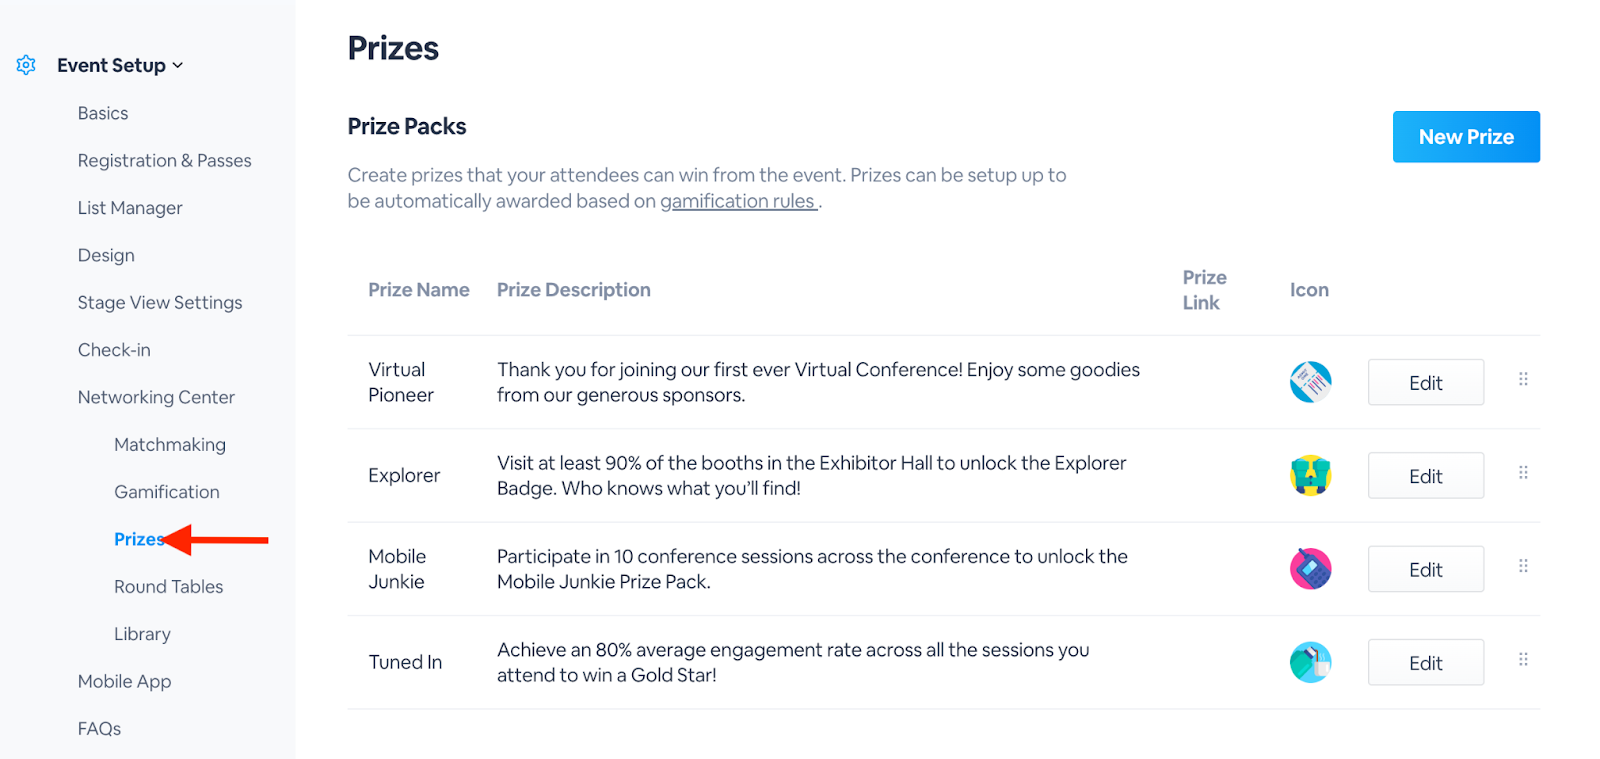
If you have enabled Prize Packs as part of your gamification, those can also show up in the companion app
Setting up the Expo Hall
Create specific exhibitor booths within your app in the Expo Hall. Attendees can scroll through, view the different booths and check into the booths from their app while visiting them in-person.
How to Set up the Expo Hall
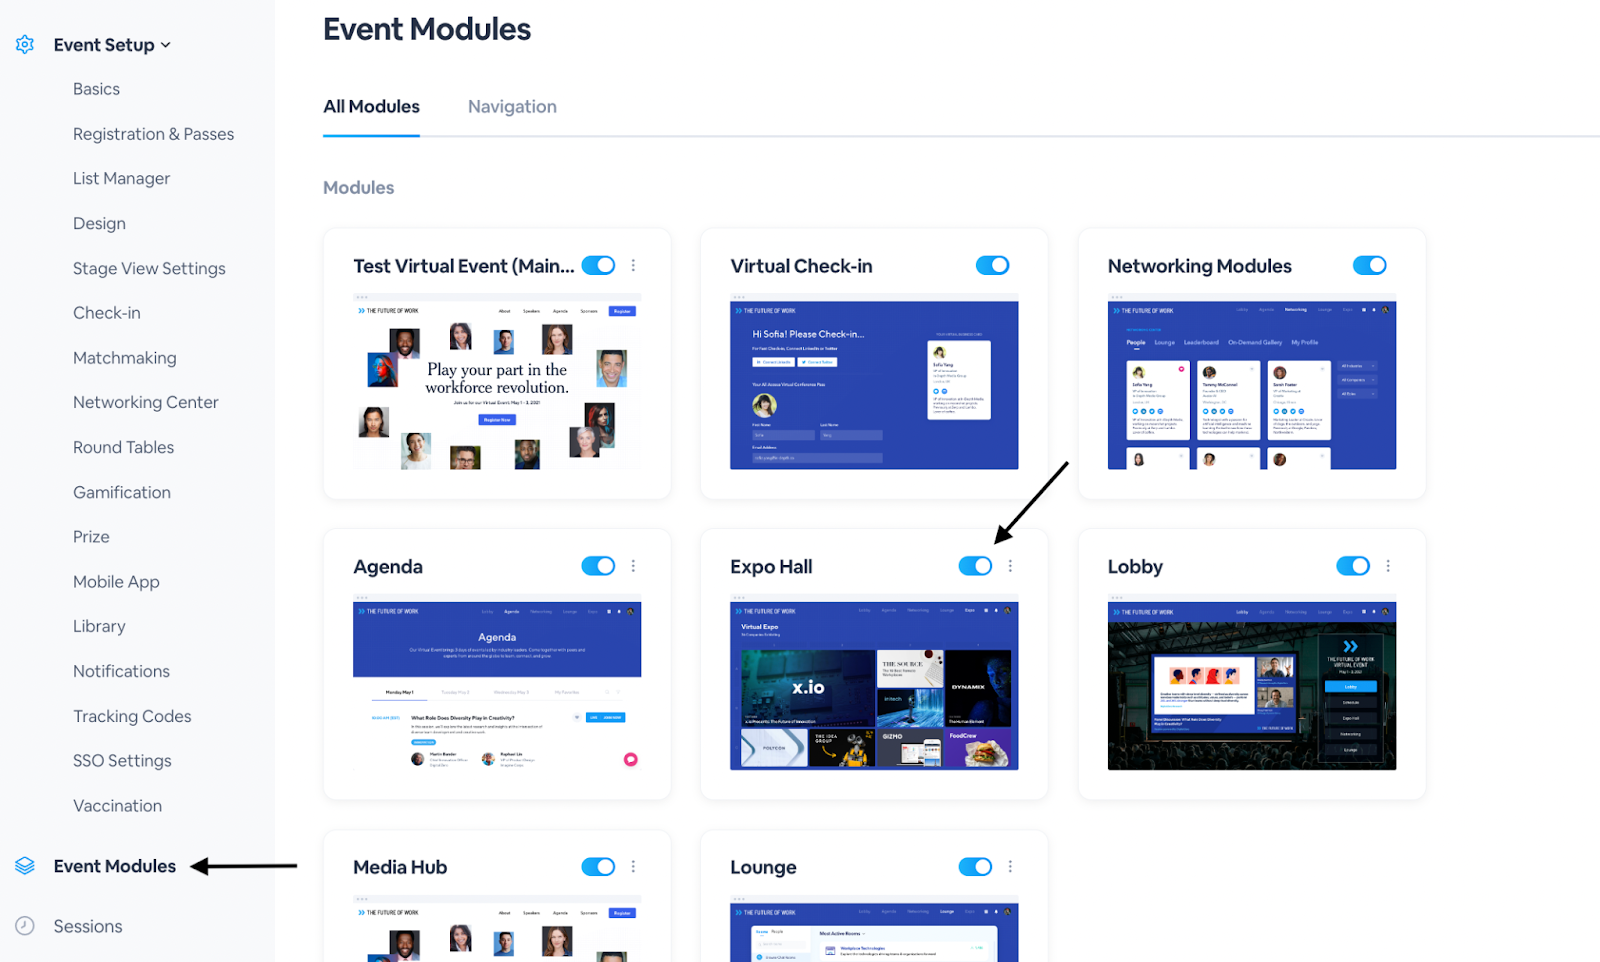
1. Go to the Event Modules section and enable on the Expo Hall module
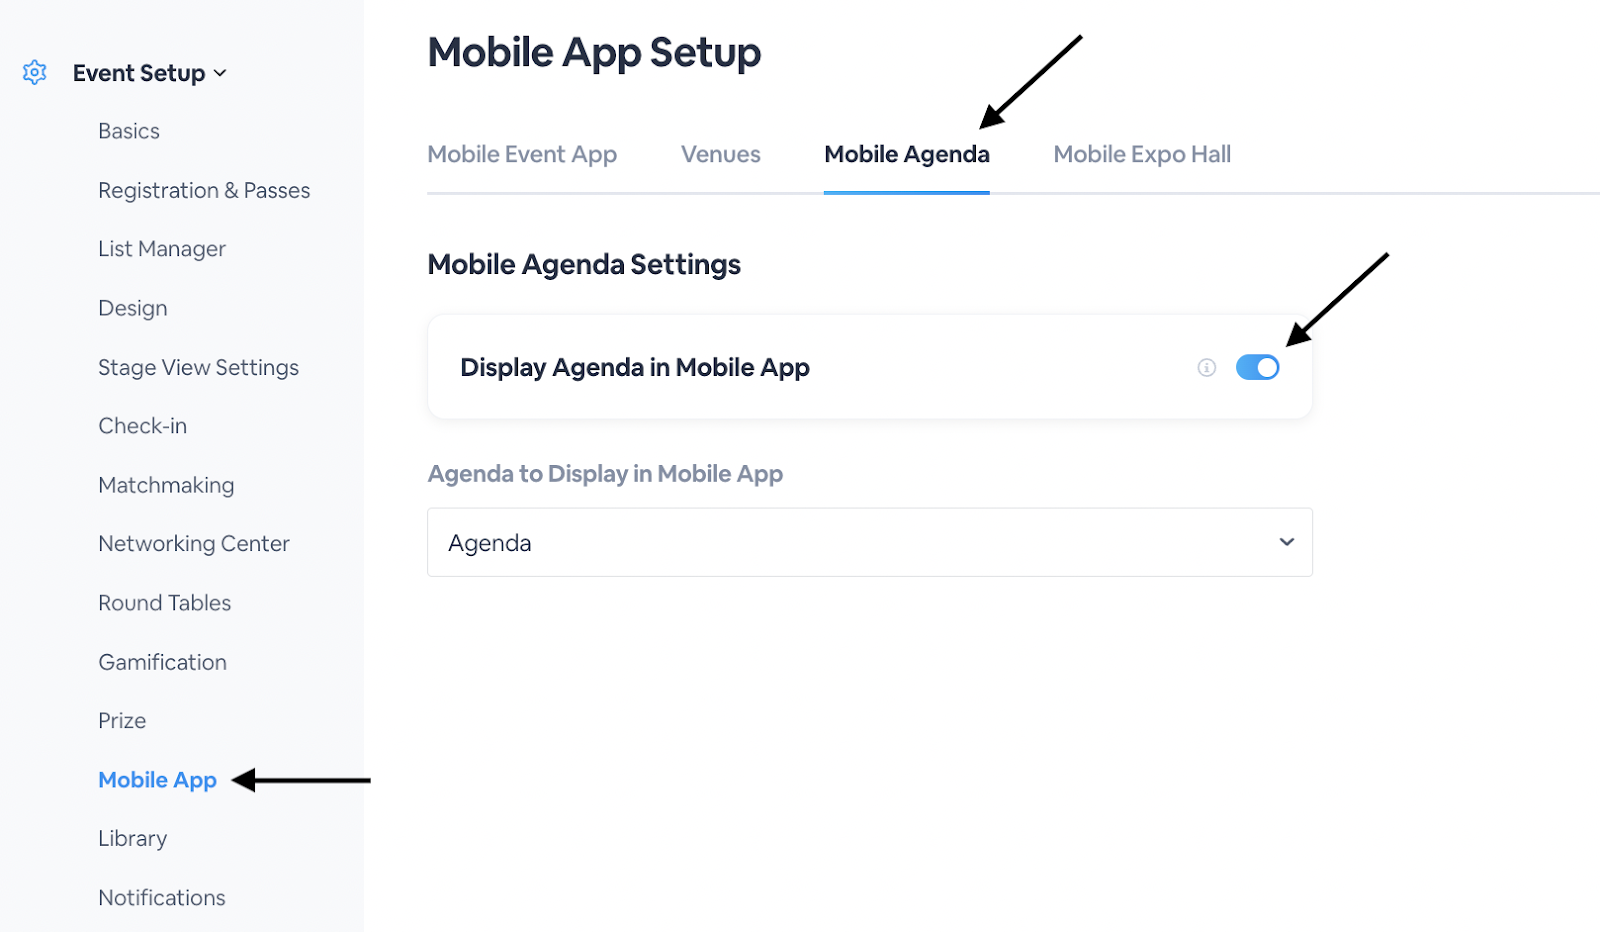
2. Next, go to the Mobile App section on the left hand side and click to the Mobile Expo Hall tab
3. Enable on Display Expo Hall in Mobile App
4. Select the style of layout for the Expo Hall: Large Card or Agenda Style

5. Click Save Changes
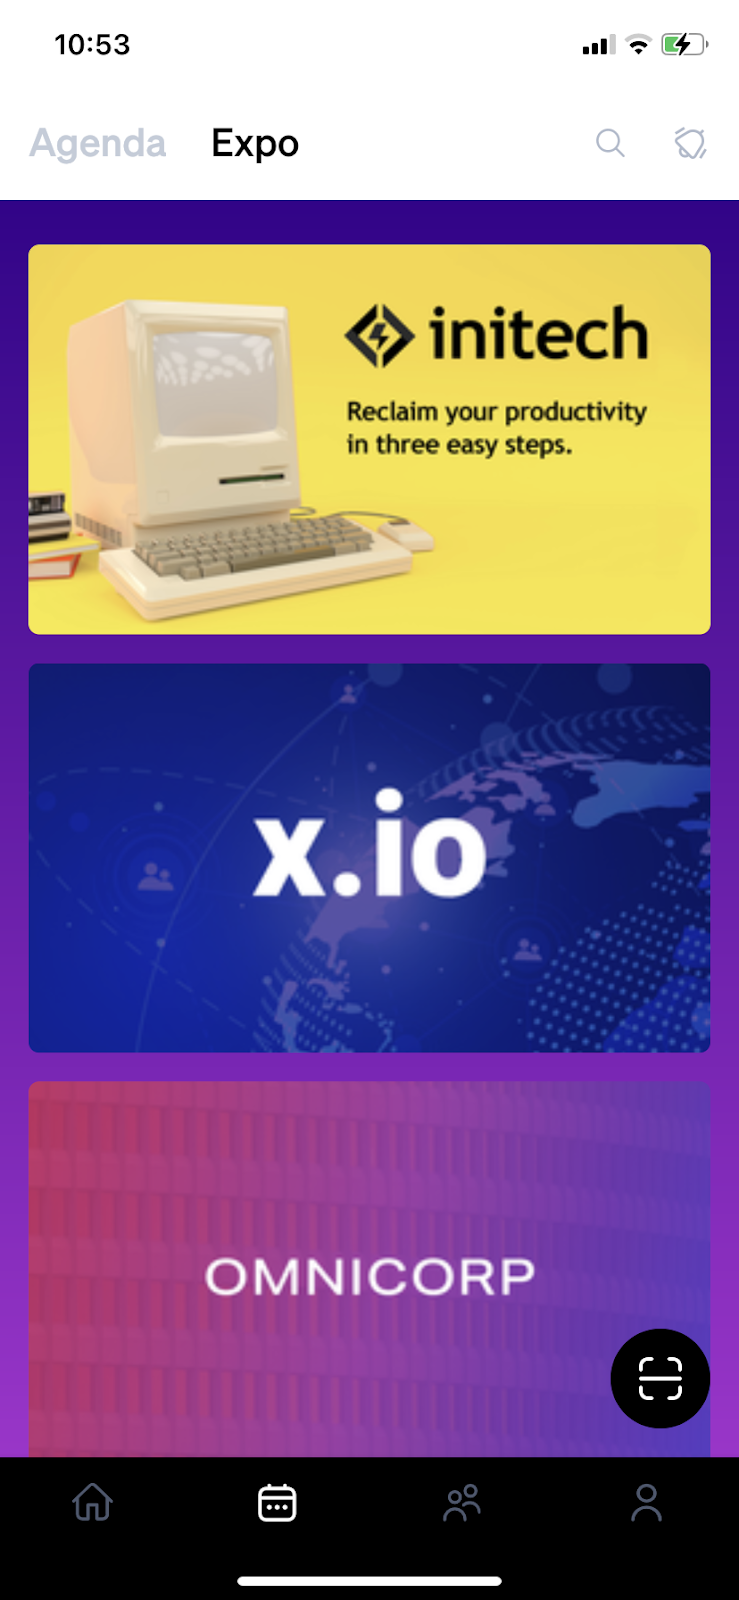
Here is an example of an Expo Hall (in Large Card layout) in the Companion App:
Your Companion App is now all set up! Attendees can download the App from the App Store or Google Play to fully immerse themselves both in-person and virtually with your event. If attendees would like to delete their profile, they can go to their profile and click the three dots at the top to delete their profile and information.
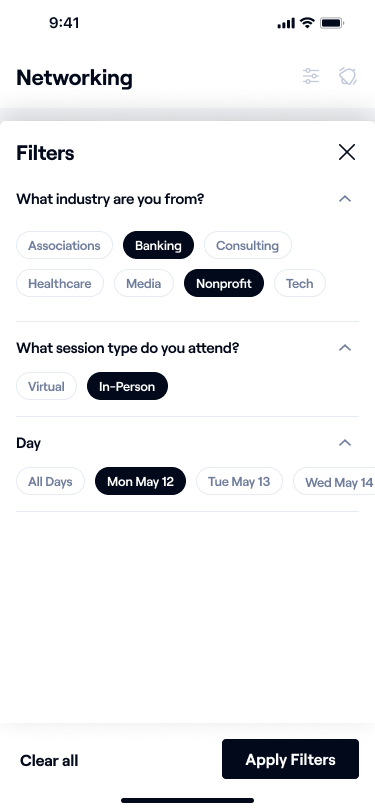
Applying a Search Filter to the Networking Center
It is now possible to apply a search filter while using the Networking Center in the Mobile App. The filters are connected to the registration fields that already exist within the app.
Simply click the Networking Section, go to the Directory tab and select the filter icon. You can filter by details like industry, session or day. Apply your filters and the app will populate results with only the individuals who met your filter criteria.