Using the classic admin? Click here to learn where you can find the Assessment settings
Assessments are a great way to engage your audience and test their comprehension after a live or on-demand webinar. You are able to customize your assessments by question format (single or multiple-select choice), score requirements to pass the assessment, expiration date and the number of attempts an attendee can make. It is also possible to enforce a minimum watch time before an attendee can access the assessment.
There are multiple ways an Assessment can be accessed by and delivered to your audience:
- Send a custom email to attendees post-webinar or event with a link to the Assessment
- Automatically redirect qualified attendees to an Assessment landing page after the webinar has concluded
- Manually share a link to attendees
- Schedule a pop-up in an on-demand webinar with the link to the Assessment
After an attendee has completed the Assessment, you have the option to send them a certificate of completion, verifying the Assessment was successfully completed and/or passed.
And finally, you can generate a report on the Assessment analytics to further round-out your webinar or event data.
The Assessment is an Enterprise feature and requires an Enterprise license to access. To learn more, please contact sales@bigmarker.com or your BigMarker customer success manager.
Below, you’ll find a step-by-step guide on how to set up an Assessment for your next webinar or event.
Setting up the assessment for a live webinar
To reach the assessment settings in the Session Admin, visit Engagement > Assessments. You'll first see the settings where you'll give some basic details such as title, description and other bits of text.

Also in the settings, you'll find a number of different settings that manage how users interact with the assessment. You can set options for
-
Expiration date after which users are unable to access the assessment
-
A minimum score required to pass the assessment and a number of times an attendee can take the assessment before they're locked out
-
A time requirement for session attendance before accessing your assessment. And finally, you can choose to email assessments to attendees immediately following the webinar or event.

Once you're happy with these settings, click on Open Designer to start configuring the questions in your assessment. For each question you can make it either a multiple choice question or a text answer. For multiple choice questions you will designate which option(s) is the correct answer(s).

You will also choose if the question counts towards the users pass/fail score. Questions that ask for a free text response will never count towards that score.
Enabling the assessment for an on-demand webinar
- Create an Assessment the same way you would create it for a live webinar, as instructed above in steps 1 - 5. Alternatively, the assessment will already exist if the live webinar had assessments added and the content was recorded. If that’s the case, no need to create a new assessment.
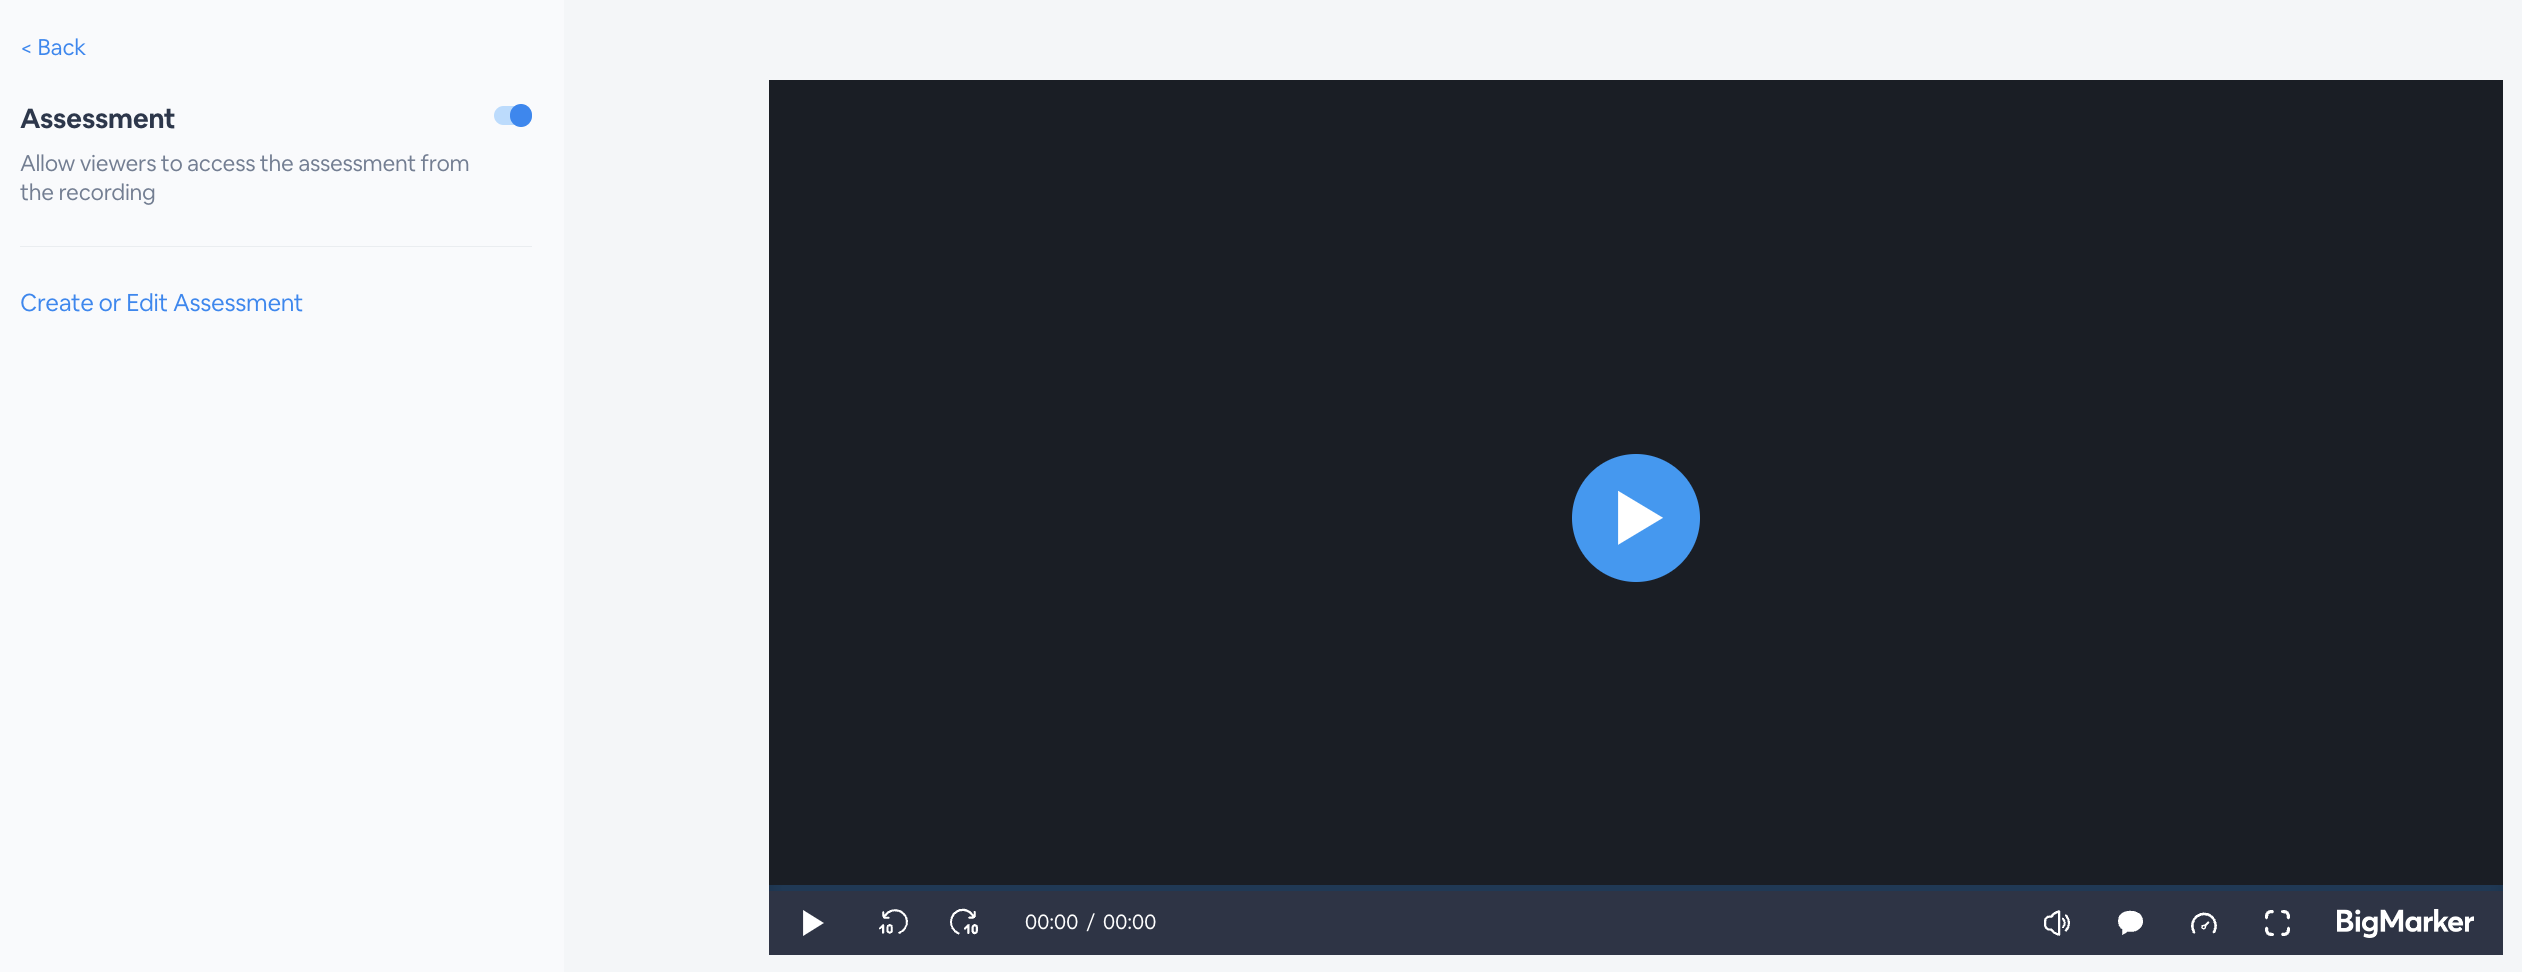
- Under your Manage Webinar dashboard, scroll down to the video recording. Select Edit Player to get to the recording player settings

- Select Assessment at the bottom of the left hand navigation menu, then toggle Assessment on. From here, you can create or view your existing Assessments.
Assessments in the classic admin
Visit the webinar dashboard of where you want to set up an assessment and in settings on the left hand navigation menu, select Webinar Surveys & Assessments. Then, at the top of the page, select Assessments in order to Create Assessment.
