Note: Custom Reports are for Enterprise plan holders. For more information, please contact our Events Experts and sales@bigmarker.com
Still using the classic admin? Click here to learn where you can find the Custom Reports.
Create your own custom reports to track the analytics you’d wish to track and leave out all the rest. Custom Reports are available on your webinar’s dashboard, and are unique since they are created by you, and will contain only the data points you’d like to see in the report. These reports can be refreshed to get a real-time look into how your webinar and attendee engagement is progressing. Overall, it’s great for segmenting your analytics and data points, so you can track individual metrics and hone in on what matters most in gauging the success of your event.
Table of contents
Share Any Custom Event or Webinar Report Externally
How Custom Reports Work
In the session admin, go to Analytics > Reporting to get started. Here you can create a report, give it its own name, select the data values that you would like included, and select any additional attributes to your report. For example, you can choose to only view your webinar’s registrants and on-demand viewers, while showing their email address, first and last name, custom registration field answers, survey answers, registration time and source attributes into your report.

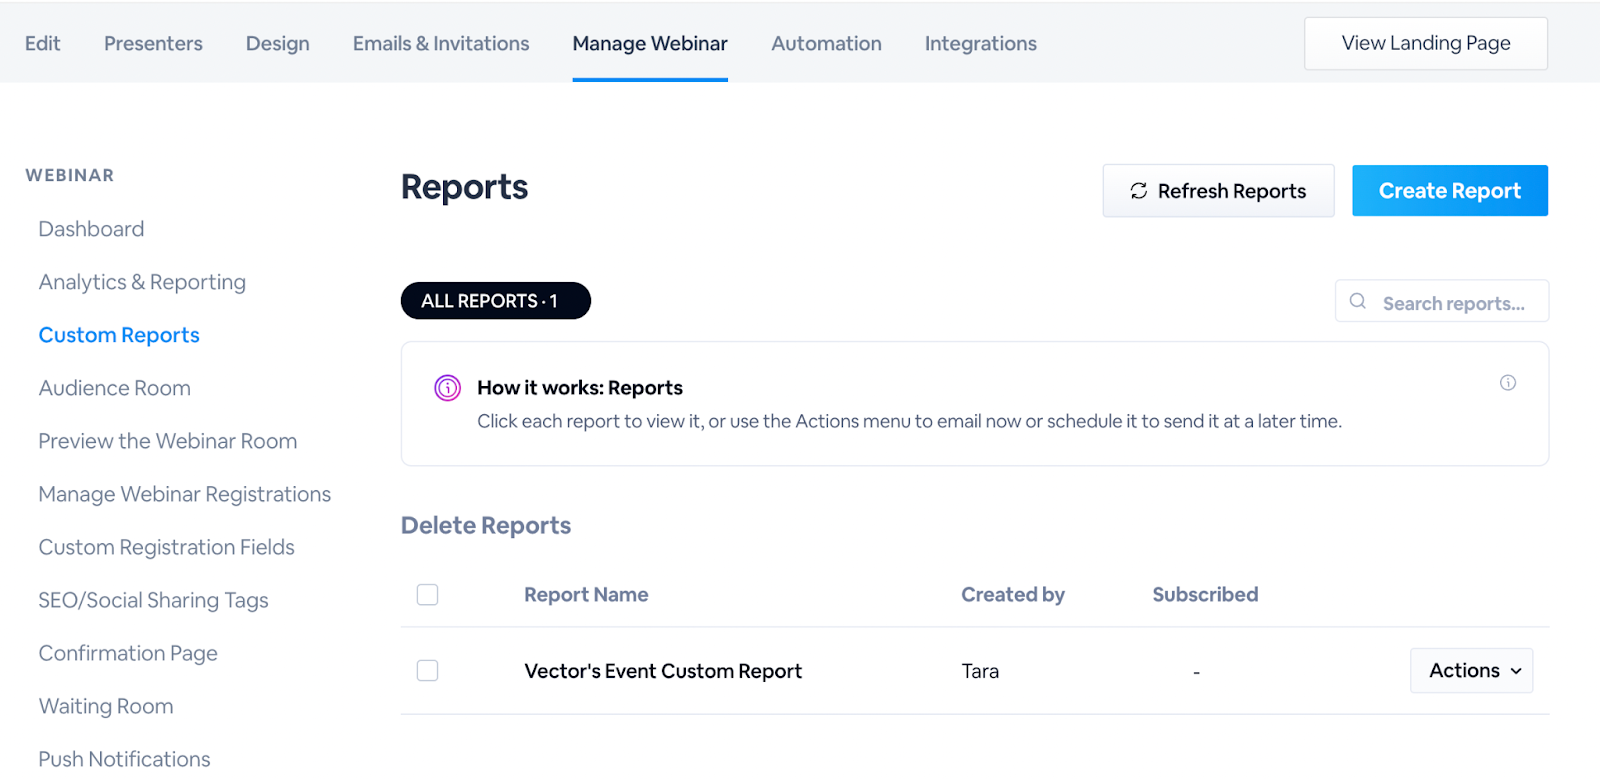
How to Create Custom Reports
From the settings above, click on New Report. You'll then be taken to the custom report builder:

Data subjects will be the people included in your reports: registrants, attendees, canceled registrants, no-shows, on-demand viewers, waitlisted registrants, or those that abandoned their cart.
Attributes are the fields and values for each user, which includes everything from their custom registration fields to their activity in the webinar room and afterwards in the survey. You can search to find the attribute you want, as well as reorder the attributes to change the order of columns in the resulting spreadsheet.

After saving, all your reports will be listed for you to manage. You can download the latest version of the report, edit the report name and parameters, export the report and delete the report.

Use Data Mapping to Change Column Names
For all of your data attributes, BigMarker automatically names them based on a number of factors: names of BigMarker attributes, or user-generated names for registration fields, polls names, and others. In some cases, these attribute names are not what is needed for your workflow, and you would want to change those names instead.
You can use data mapping to change these names. Simply create a data map for your channel, then select it here when creating or editing a custom report:

Export Your Custom Report
Custom reports can be exported to a file sharing server using a specific S3 bucket or SFTP server, or you can automate an email to send the report to select recipients. Click Share & Export Report to configure the settings for the destination of your report, as well as the cadence for how often the report is shared.
The report can be sent daily, weekly, or monthly and can be sent indefinitely or until a specific date. For either destination, the custom report will be sent as a .csv file

- For a SFTP Server: enter its address, port, username, password, and path.
- For a S3 Server: enter it's access key ID, secret access key, bucket and object directory path
The filename for the report will have the following format:
report-name-yyyy-mm-ddThh:mm:ssZ.{file_type}
"Z" will be replaced with the time zone of the send time.
If you turn on Split the result files into increments of 10,000 rows each then your export may contain multiple files if you have over 10,000 registrants. With this on, the report will be split up into multiple files in .csv format as needed. When the export is finished, and additional file will be exported that will have the same name as your CSV, but will end in .done instead. This file does not have any other function.
Sending the report via email
To send the custom report in email, click on the Email tab in the share settings. You'll then see a few fields for the subject, content and recipients of the email. The email will be sent to the recipients with the custom report attached. The email will be sent at the schedule that you set in the settings in the General tab, even if you didn't set up the server export.

Share Any Custom Event or Webinar Report Externally
Any Custom Report can be shared externally outside of BigMarker. Within action button, click on Share Link. Here you'll see the option to generate new Share Links and manage any existing ones. Simply click on the plus button to receive a custom, shareable link.

Once you’ve generated your shareable link, you can easily copy the link to share it with people external to the BigMarker platform. Once shared, your link recipients will open their link in a browser, and have access to a report that looks similar to the below image. Users on this page can download the report which will give the most up-to-date information.
Important: This link will not require any login, so anyone will be able to open it.

Custom Reports in the classic admin
To find the custom reports in the classic admin, look for Custom Reports in the manage dashboard.