Using the new Session Admin? Click here to learn where you can find the chat replay settings.
With chat replay and automated chats you can give you on-demand viewers a simulation of the live experience. Whether you want to keep the excitement of a product launch or inform your viewers of the insightful conversations in your sales kick off, chat replay and Automated chats allow you to do just that.
Table of Contents:
How to Enable Automated Chats in On-Demand Webinars
How to enable chat replay
If you hosted a live webinar that had chat messages sent within it, you are able to leverage those for he chat replay inside of the on-demand player.
To enable chat replay for your on-demand session, first go to Production > On-Demand Experience and click on Edit Player to get to the recording player customization.

In the Chat section of these settings enable Show live chats as well as Display chats in the chat drawer to show this messages as part of the video player.

How to Enable Automated Chats in On-Demand Webinars
From the same settings, you can enable the use of automated chats. If you are starting from an on-demand webinar or just want to add more chat messages to the chat replay, you'll first start by enabling Show automated chats.
To start configuring those chat messages, click on Edit automated chat. This will redirect you chat section of the automations page of the session admin.


To Add a New Chat Message
In the chat automation settings, click the plus button. From here you'll configure the following for each message:
- Time - The specific time, relative to the session’s start time, the chat will display (e.g., If you want your chat message to appear 5 minutes after your webinar starts, enter 00 hr, 05 min, 00 sec.)
- Name - Who is saying the automated chat
- Role - If the automated chat is coming from a host or attendee
- Message - The message of the automated chat
- Before/After - When the automated chat will appear before the time or after the time
Note: When the time is set to BEFORE, the automated chat will display BEFORE the recording starts. If the time is set to AFTER, the automated chat appears AT THAT time. We strongly recommend setting no more than one BEFORE time for your automated chats.

FAQs
Can I Import a List of Automated Chats?
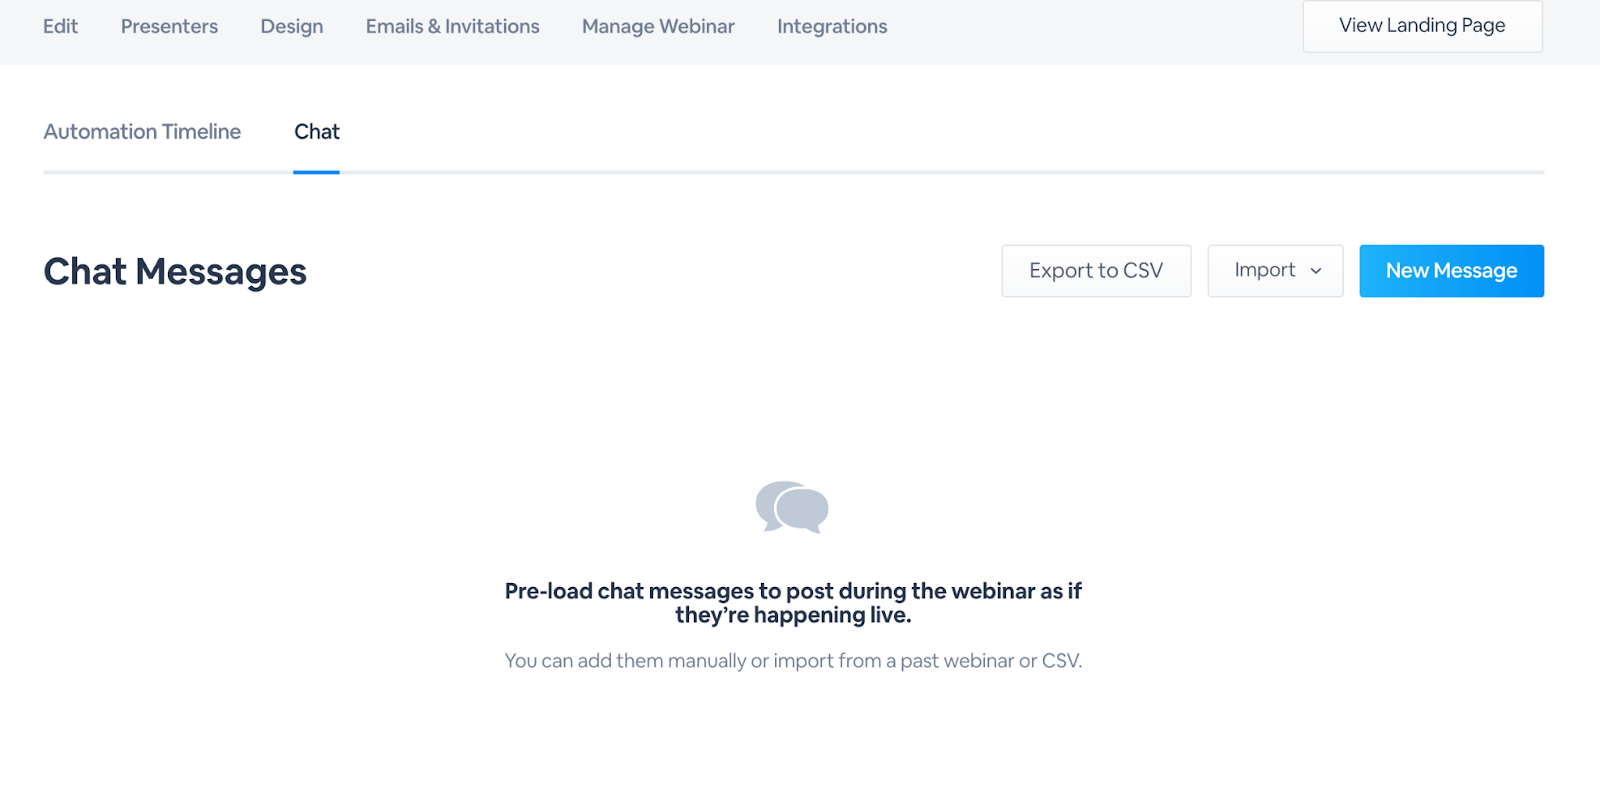
You can import a CSV file from other sessions on your channel containing all of the automated chats you plan to use during your session. In the automation settings click on Actions then select Import from another webinar or Import from CSV.
The CSV file can come from the transcript settings of a session. If you choose to Import from another webinar, you'll have the option to import all automation timeline events, or pick and choose which kind to include.

Can I see the Timeline for my Automated Chats?
While adding and managing your automated chats, you can view the automation of your automated chats and event. Click the Automation Timeline tab to view. To learn more about automating your webinars, click here.
Chat replay settings in the Session Admin
To edit the recording player to show chats, click on Edit Player in the manage dashboard.