How do I enter my webinar as a presenter?
We recommend entering the room 15 to 30 minutes in advance of your session’s scheduled start time to test your mic and webcam. Prior to your session's scheduled start time, no attendees can enter the room (this is called "Presenter Prep Time").
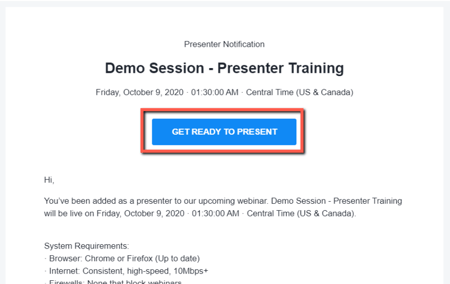
To enter your webinar room, click the link provided by your event organizers or in the Presenter Notification email you received - be sure to look for this email in your Spam/Other folder as well as your inbox.
- Please do not share this link with anyone else. If another user enters the room with your link, they will appear under your name with presenter-level access.
- Make sure to use either Chrome or Firefox as your browser (especially if you intend to use your microphone and webcam in the webinar). Make sure your browser is updated to its latest version.
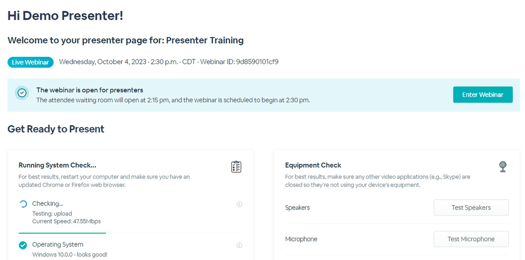
After clicking your custom link, you'll be led through a systems check. After this check is complete, click "Enter Webinar" or "Enter Anyway" - even if you "fail" due to slow internet speeds, you will still be able to access your webinar.
- If you have slower than required upload and download speeds, please hardwire into your router or set up as close to your router as possible.
- If you experience issues with your webcam display due to slow internet speeds, please consider joining the webinar with microphone only. If issues persist, please work with your event organizer to dial into the room via phone when possible.
How do I enable my microphone and webcam?
On the following page, you’ll be able to toggle on your microphone and webcam. Make sure to allow access to these as prompted.
Underneath your webcam display, you’ll be able to upload a virtual background if desired.
From here, click Continue to Studio.

What can I access in the webinar room?
Once in the room, you’ll be able to:
- Control and adjust your microphone and webcam
- Review preloaded and upload new slide decks (preferably PDFs)
- Review preloaded and upload new videos (either MP4 files or YouTube video links)
- Review preloaded and create new polls
- Review preloaded and upload new handouts (.pdf, .doc, .docx, .odp, .ppt, .pptx, .odt, .jpg, .jpeg, .png, .xls, .xlsx, or URL)
- Respond to attendee questions on the Q&A tab (by default, questions will only be visible to presenters, but you can choose to manually publish question as well)

How do I open my slide deck or video file?
To display assets like slide decks and videos to attendees and other presenters in the room, click the Share Content icon at the bottom of the screen, and then click the toggle next to your preferred file.

How do I start and end my webinar?
Your webinar will likely begin automatically at its scheduled start time. Keep an eye on the countdown clock at upper right so that you're ready to begin your session.
If your session is set up to begin manually, an admin or event organizer must be present to click Go Live.
Similarly, an admin or event organizer must be present to end the webinar by clicking End Webinar.
How do I leave my webinar?
Once your webinar has ended, please feel free to close your browser's tab or window. Doing so will not impact the webinar in any way.
If you accidentally close your tab or window during the session, please return to the session using the link originally provided to you.
Virtual Training Session
Below, we'll walk through each of the items mentioned above. Please reach out to your event organizers with any additional questions.