Often times, you have multiple cameras that you want to share with your audience. You might have a live event and want to stream multiple angles of the stage. Or you are doing a cooking, handwriting, or some other skill that requires a closer look. Whatever your use case, you can now add multiple cameras as one presenter to the same webinar room.
Secondary cameras are only available to enterprise customers. For more information please contact sales@bigmarker.com or your customer success manager.
During your live webinar or event, enter the Studio and in the content panel click the Share Content then click Add Secondary Camera. From here you'll have the option to add your second camera.


You'll then have options to choose the camera to use for this. You'll see all of the cameras currently connected to your device. You can also give it a name, which will appear in the camera box for presenters and attendees.

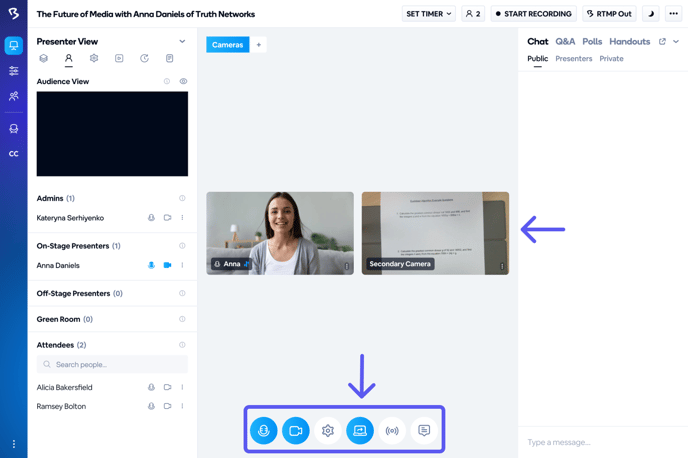
After clicking the Save button, your secondary camera will appear on screen beside your primary camera, and your attendees will be able to see that video stream.
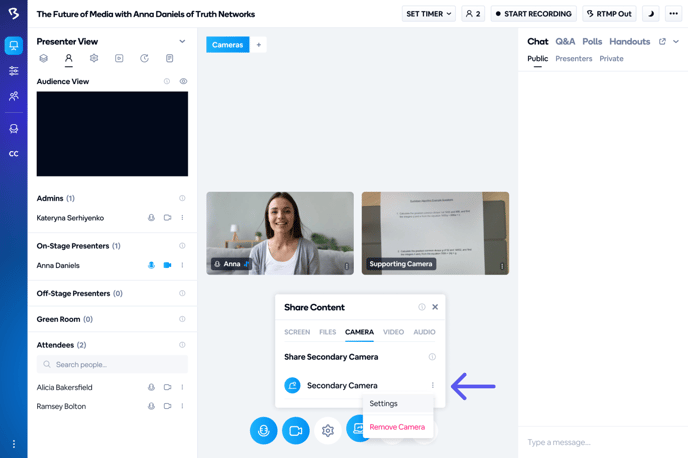
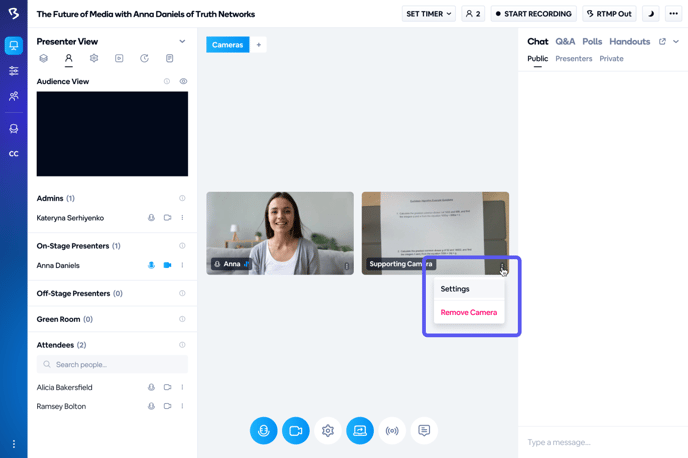
5. To edit or delete your secondary camera from your presentation, click the Share Content button, select CAMERA, and beside your secondary camera’s name, you’ll see three dots for a dropdown, where you can access Settings and delete the camera. Alternatively, you can select the three dots on the bottom right side of the secondary camera on your screen for the same dropdown menu options.