If your organization is using the SSO service Azure and wants to only allow users from that database to view the webinar, you can accomplish this by using BigMarker integrations. With the Azure integration, users will be prompted to sign in your Azure application before viewing the landing page or live webinar room, and registration information can be imported into BigMarker in the process.
The instructions here will show you how to connect an existing Azure account to BigMarker. If you need assistance with creating a Azure account, visit https://learn.microsoft.com/en-us/azure/?product=popular&WT.mc_id=Portal-Microsoft_Azure_Support
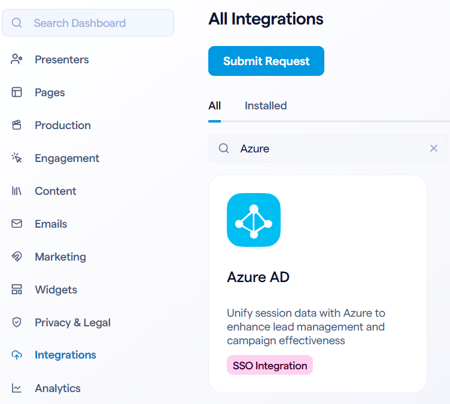
Setting up the Azure integration
For either a webinar, series or event, the process will be the same. You will need to visit the session admin or the classic dashboard and head to the Integrations section. Look for and click on Azure AD.
Once you enable the integration, you will be presented with some read-only fields: Azure Application Callback URL and Audience URI. You'll need to copy and paste the values you see in these fields into Azure, so keep this window open once you get here.

Syncing Azure with BigMarker
Log in to Azure and find the search bar. Search for "Azure Active Directory" or "Microsoft Entra ID."

Once in these settings, in the left hand menu click on Manage and then Enterprise Applications.

From here, click on New Application, then click Create your own Application. Input your app name, then select Integrate any other application you don’t find in the gallery (Non-gallery) option. Click Create.

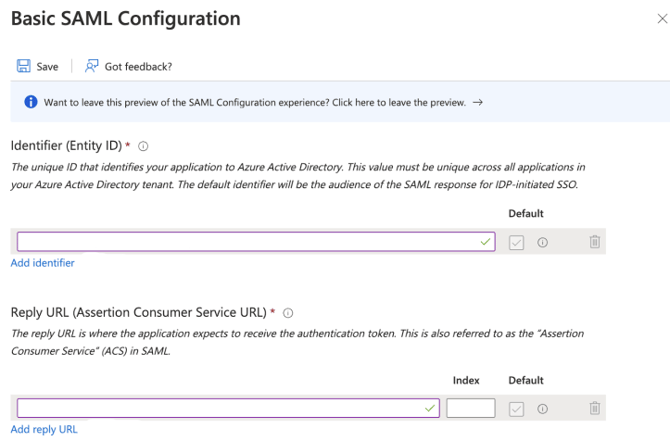
Once the app is created in Azure, find Single Sign On in the left hand menu of the dashboard, then SAML. From there, click Edit on the Basic SAML Configuration section.

Click Add Identifier and Add reply URL to paste the ACS URL and SP Entity ID from BigMarker into the Identifier and Reply URL fields. Click Save.
After that has been configured, go to the Single sign-on section in Azure, and under the SAML Signing Certificate section, copy the App Federation Metadata URL from the SAML configuration you just created.

Paste that URL into the Identity provider metadata field back on BigMarker

Additional BigMarker settings
Once you complete the connection, your BigMarker content is now locked behind your Azure SSO application. From here, there are a few settings to consider:
Map BigMarker fields to Azure App Metadata fields to import
If you have information in Azure for your users in the form of metadata, you can import that information into BigMarker. In this setting you'll paste in the names of the Azure fields on the right that will correspond with the BigMarker registration fields on the left. If a user logs in to Azure, that information will be imported to BigMarker when they register.

Guest access and registration behavior
By default, all users whether they are guests or signed-in, will be able to see the landing page of your webinar. You can change this with the setting for SSO Implementation, and it can be set to require SSO login before viewing the landing page. With this chosen, guests are immediately redirected away to the SSO login page if they go to the BigMarker landing page.
Additionally, you can make it so users that sign in from this process will get automatically registered by turning on Auto Register. This is a great way to make registration that much easier for your users if you don't need them to fill out any additional registration forms.
