What is MeetingSpace and How to Use it
MeetingSpaces are virtual conference rooms that are best suited for smaller audiences.
Typically serving up to 25 users, MeetingSpace is a great way to connect with others at a smaller, more intimate scale.. These are individual spaces within a channel that an admin must send a personal link in order for others to have access to the virtual space.
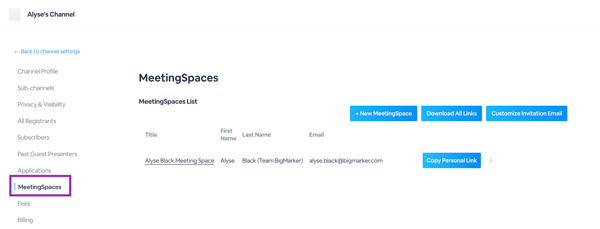
In your Channel Settings, you can create MeetingSpaces, download a list of all the space’s links into a CSV file, customize the invitation message and delete if necessary.
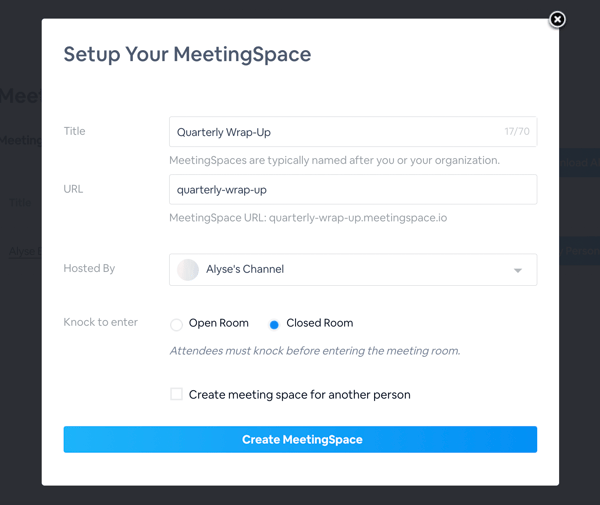
To create a new MeetingSpace, simply select the blue + New MeetingSpace button at the top of the MeetingSpaces screen. You'll be prompted with the below screen, where you'll input your MeetingSpace information. Give your meeting a title, and choose the URL you'd like to associate with your meeting. For example, you can input quarterly-wrap-up, and your MeetingSpace URL will automatically be created as: MeetingSpace URL: quarterly-wrap-up.meetingspace.io.
Select which Channel will be hosting the MeetingSpace, then choose whether attendees need to "knock" in order to enter a closed room, or auto-enter the room by clicking the link. If it's a closed room, the admin will see in the MeetingSpace who is knocking, and allow or deny that person entry from there. You are also able to create a MeetingSpace for another person. Simply input their information where prompted.
Select Create MeetingSpace when you've finished.
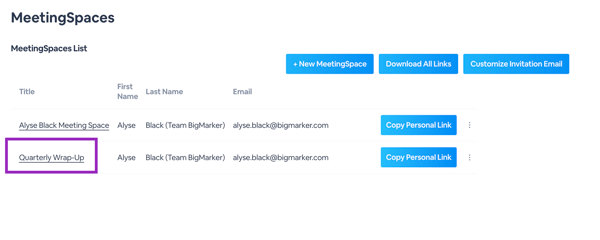
To enter your new MeetingSpace, click on the title of your meeting.
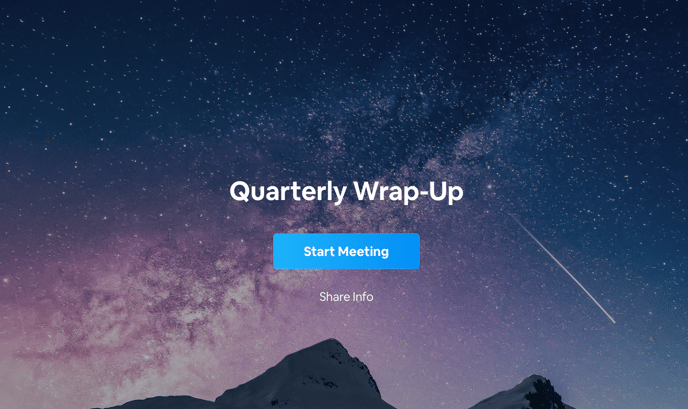
You'll be prompted, as the admin, to start the meeting. From here, you can also share the MeetingSpace's info. This includes a link to the MeetingSpace, and the ID, which you can copy and send to attendees.
In order to have admin access to your Meeting Space, you'll need to og in once more. Meeting Spaces are unique and each have their own domain that you need to log in to. You will use the same email and password as your regular BigMarker account.
Additionally from this screen, you can click the Settings button at the top righthand section of your screen. Here, you'll be able to customize your MeetingSpace further, including further privacy settings, Meeting room style, appearance and image customization, and downloading an attendee or transcript list.
If you're an attendee entering a MeetingSpace which you've been invited to, your screen will look something like this:
Before entering the room, you'll be prompted with your camera and mic settings, as you would to enter a webinar. When everything is set correctly, select Continue to Meeting.
Once you enter the meeting room, it will be identical to the live webinar room. You'll enter this room as an admin and have all of those same controls.
If someone is knocking, you'll get a pop-up notification with the person's name. From here, you'll be able to decide if you'll allow them to enter, or deny. You can also select Decline & Disable All New Entrances for 10 Mins. This will not allow anyone to knock or enter the MeetingSpace for the designated amount of time. Use this setting during a kick-off or welcome speech that you don't want interrupted by knocking or late entries.
When you've allowed an attendee in the room, they'll appear on the screen and in the attendees list.
In the MeetingSpace, you can chat and interact with your attendees and fellow presenters as you normally would in a webinar setting. You can also activate Polls & Handouts, allow attendees to ask questions, and upload videos and presentations.
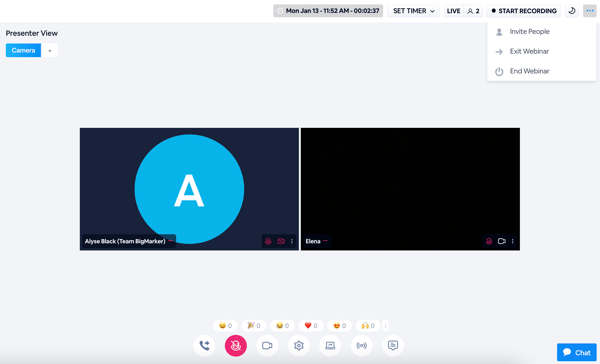
To close the MeetingSpace, select the three dots at the top right of your screen and select
End Webinar. This action will ask you where you want to deposit your attendees once you've closed the MeetingSpace. You can kick everyone out and redirect them to a page on your channel, or a URL of your choosing. Additionally, you can kick everyone out and move all presenters to a webinar debrief room, that you've already created ahead of this meeting.