Note: This feature is only available for Virtual Events and Enterprise plan holders. Please contact our Sales team at Sales@bigmarker.com to learn more.
Design your ideal event or webinar landing page, with your own colors, graphics and more, and bring it to life with our Page Designer. Bring your design to our Development team and let them take care of the rest, building your perfect landing page. Once built, you are able to go in and modify or add any HTML/CSS or Javascript. In addition, include tokens and your own graphics and images to make them fully unique to your event. Learn more below about creating and customizing your Landing Pages.
How to Create your Custom Landing Page
Whether you are planning to provide a finished design yourself, or are collaborating with the BigMarker team to create one, the BigMarker development team will take that design and implement it into your channel. Once completed, you are able to go to your Channel’s Settings to manage your custom page templates.
How to Manage your Custom Landing Page
- Go to your Channel, and click Settings
- Click to the Custom Landing Page section on the left hand menu
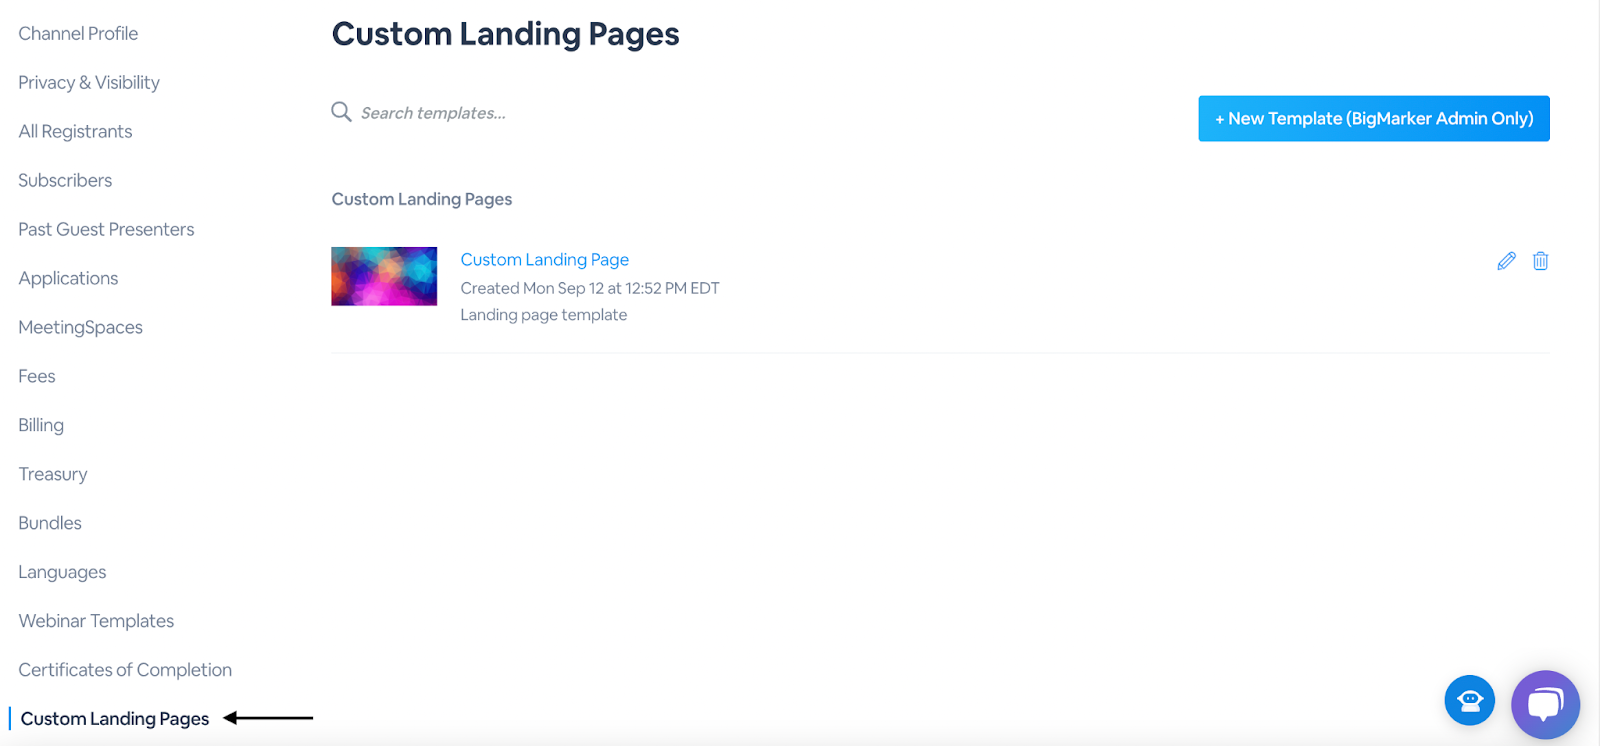
You can click the pencil icon to head to the landing page editor, or the trash can to delete the landing page.
How to Edit your Custom Landing Page
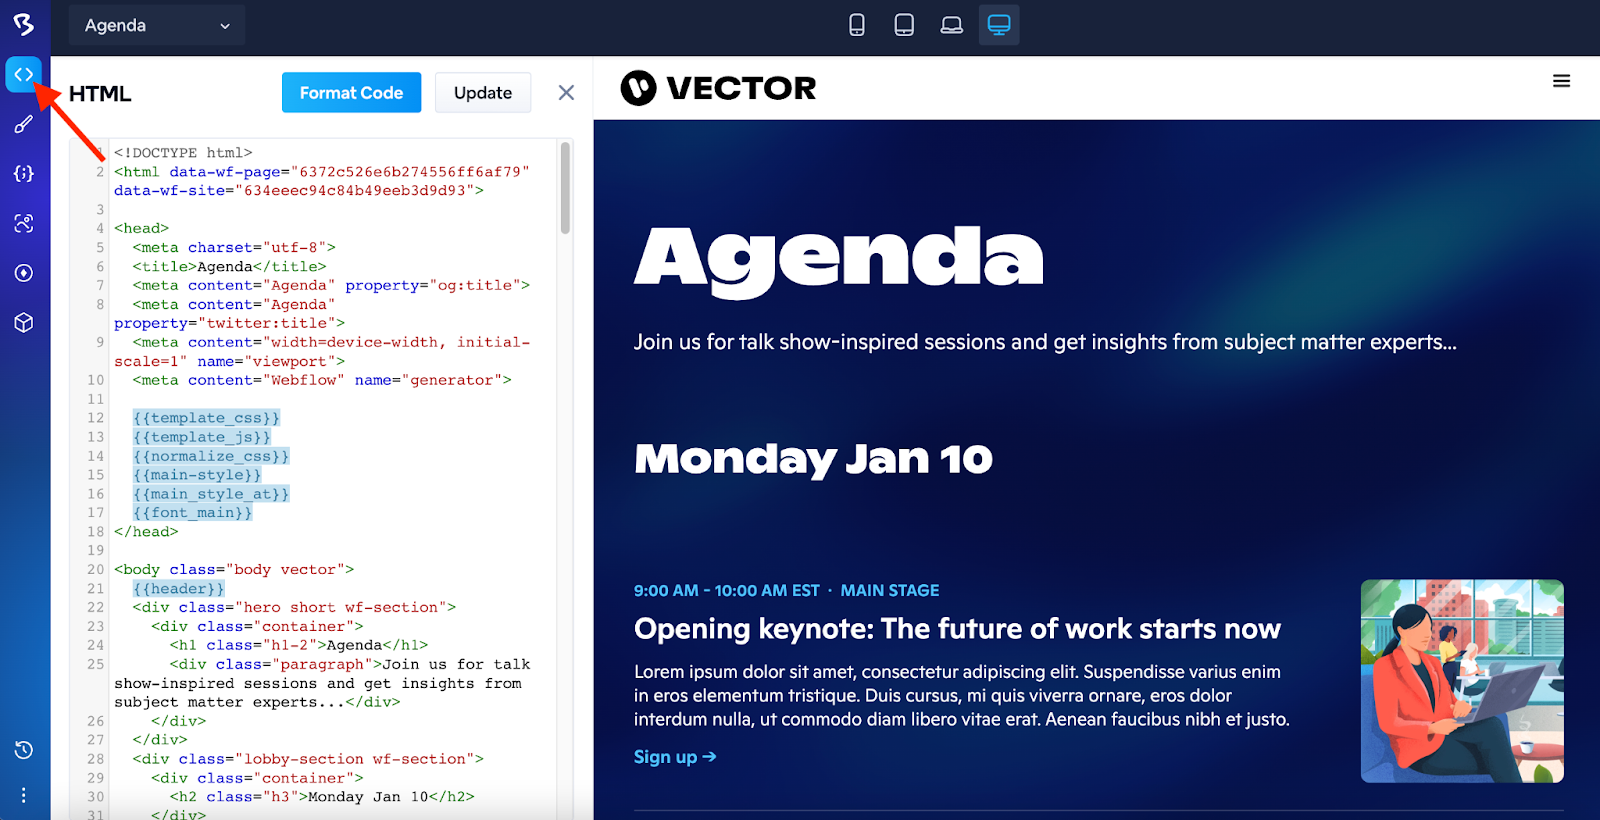
From the list of page templates, click on a title of any of them to be taken to the designer. Here you you can edit the HTML, CSS and Javascript, as well as upload assets to be useds and search through the available tokens for the custom page.
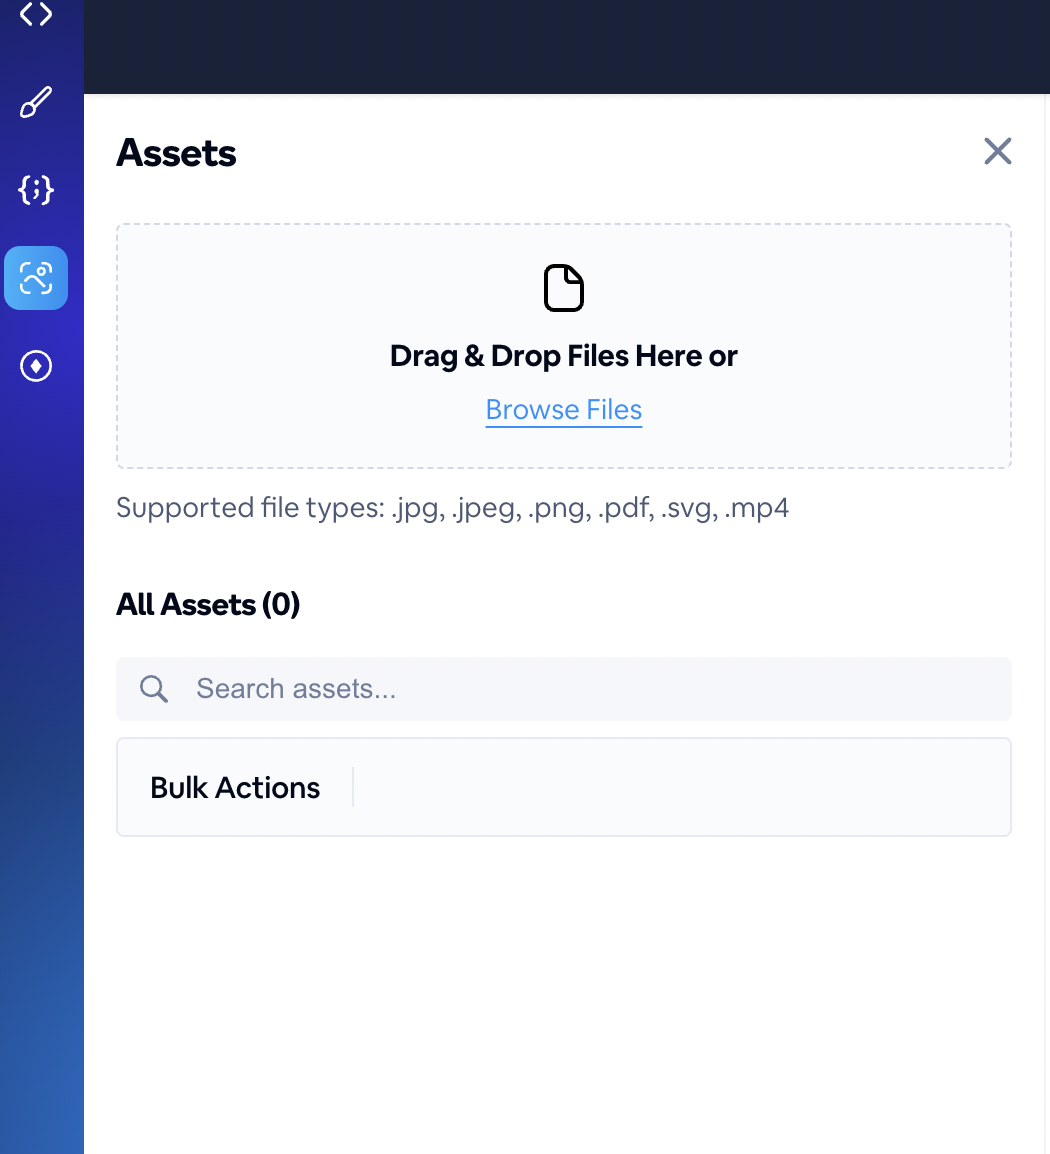
To add assets for your page, such as graphics and logos, click on the assets icon and simply upload your file. Once you do so you can easily copy the URL to be used in your page's codebase.
Tokens allow you to leverage your BigMarker data and backend settings on your custom landing page. On the token of choice, click the copy icon and insert that token into your code.

For our advanced users, you can use custom tokens in a variety of ways, such as using loops for tokens to represent an item more than one time, like a list of presenters, or render content as conditional fields to only show content for specific cases. Tokens have also been updated to include all virtual design assets, simplifying the overall creation process.
To do this, copy and paste the token into your HTML. The HTML contained within the token will have the specific logic, such as looping presenters. When inserting the token into your HTML, it will pull the logic and everything within the logic (in this case, presenters) from the list and will be available to use. For example, if you are using a token with HTML that will loop a list of presenters, putting the token’s HTML into your HTML will show the list of presenters looping on your landing page.

What this results in is a fully unique landing page, containing both custom HTML and tokens. Below is the example of a custom landing page with a loop for the presenters on the agenda.
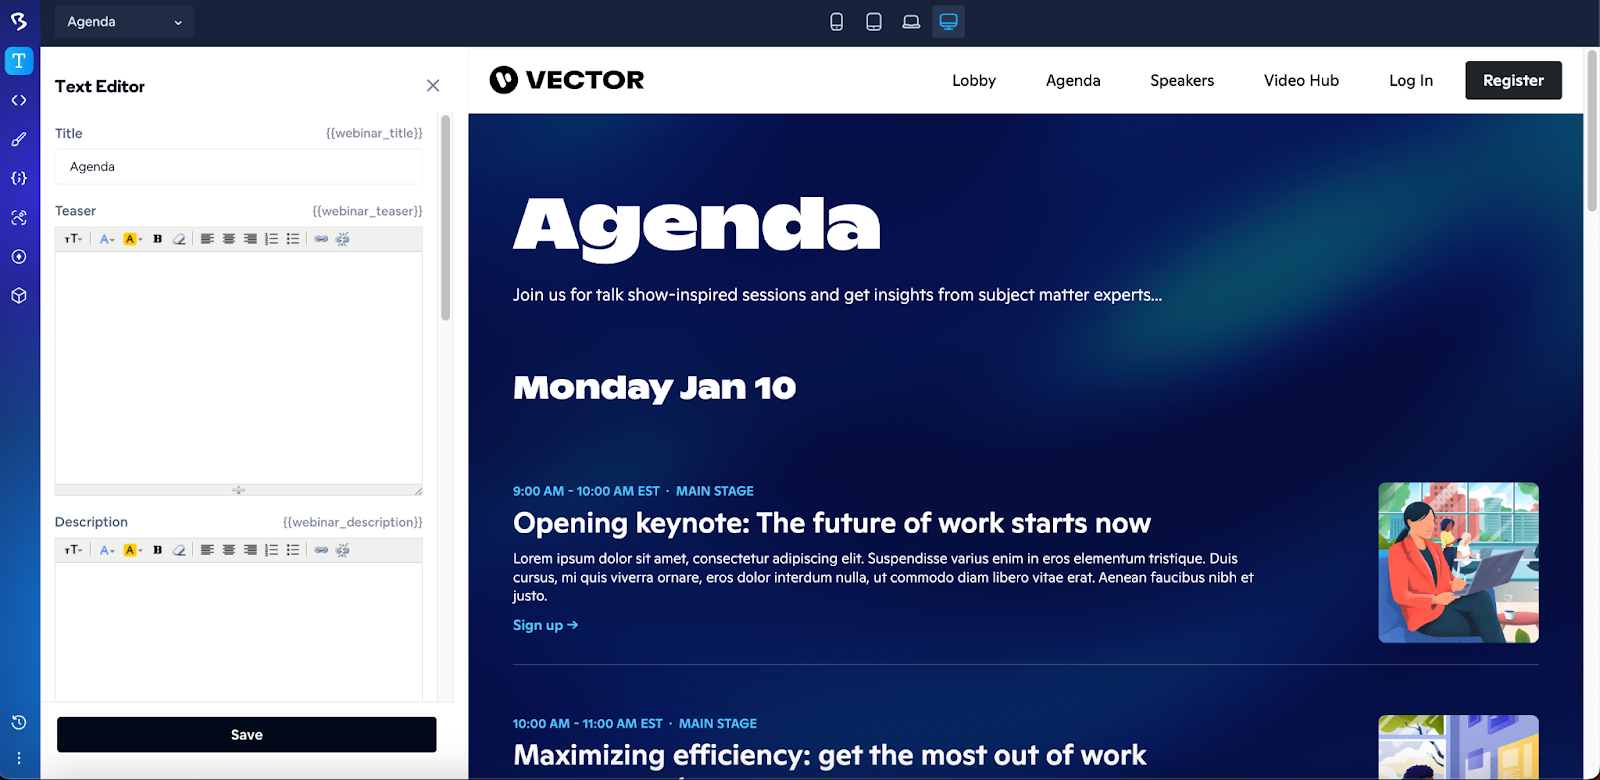
When a custom page is built, the BigMarker team will add Editor Fields. These allow non-technical users to edit content on the page without needing web development expertise. Click the T icon at the top to edit these fields. When you edit the editor fields on your template, what you put in becomes the default for any webinars that use this template as their landing page.
You can view the page in different viewports to check how the page looks from different devices. You can see how the page displays on a desktop, laptop, or mobile.
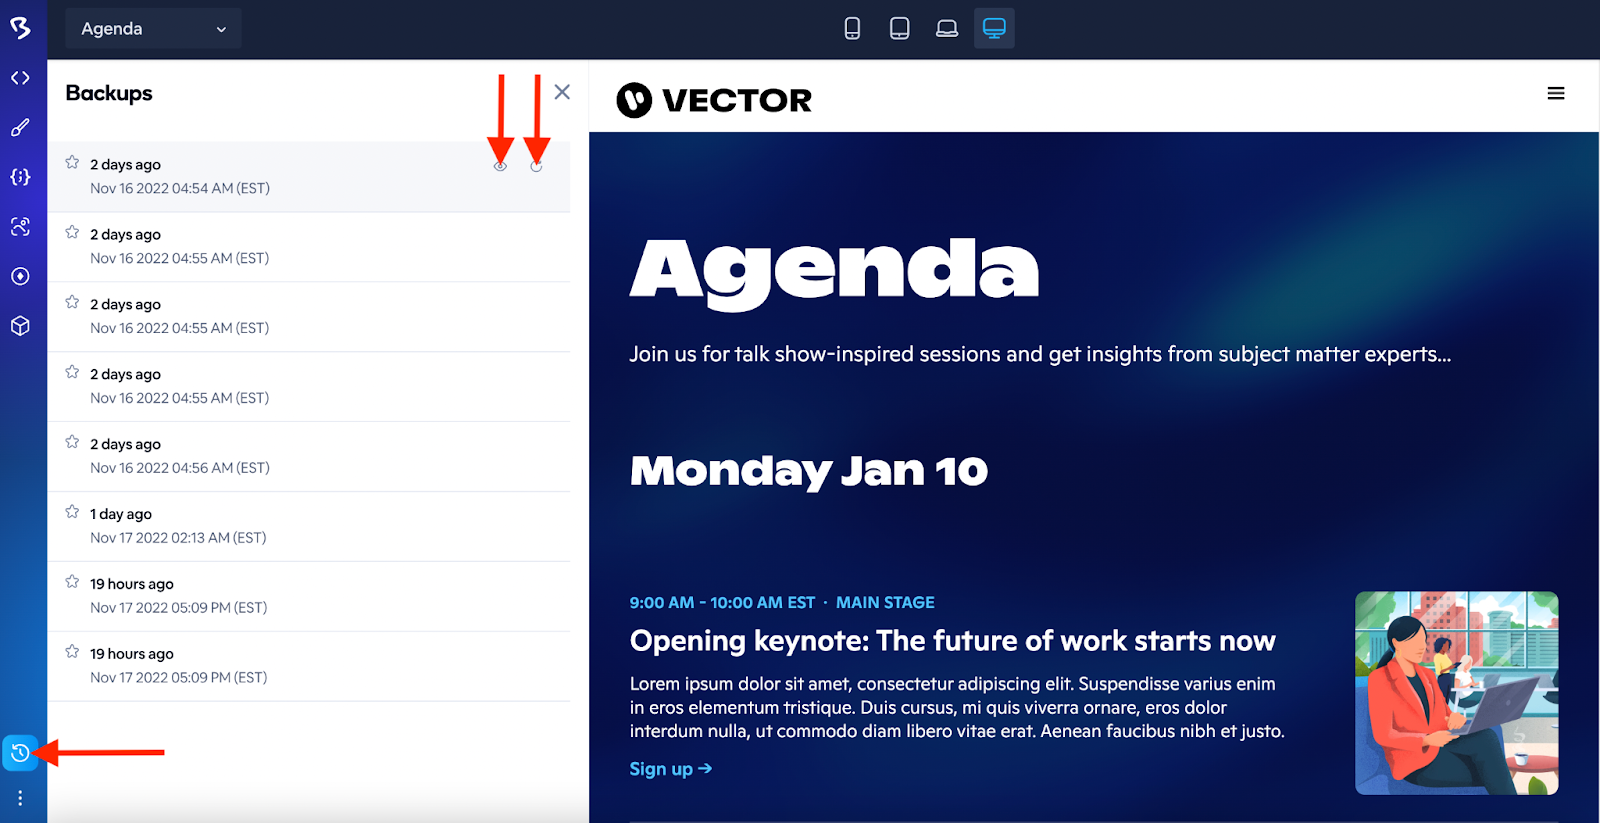
Made a change to your page and would like to go back to a previous version? Click the backups icon at the bottom to view your backup pages. Here, once it was saved, are all of your previous versions of your page. Click the eye icon to view the version and the arrow icon to revert to the previous version.
How to Select your Custom Landing Page
Once your template is ready, your custom page will be available when you create a webinar. Simply select your custom template and you are all set.