Using the new Session Admin? Click here to learn where you can find the custom footer settings.
Add a disclaimer banner to your waiting room, webinar room, or both, to convey important information or exciting announcements during your event. These are great for leaving external links that attendees can check out after the event or relaying important information that is relevant to your event’s presentation. Either way, it’s a great tool to utilize for highlighting presentation material or directing to your company’s website.
Configuring the banner
To enable and set up the banner go to Privacy & Legal > Disclaimers. Look for Show disclaimer banner and enable it to expose the various settings to configure it.

From here, you can give the footer a title, select if you would like your footer to be in a text box or iframe, enter the content of your footer in the text box, and use the sliding bar to select the height of the footer as it will appear to audience members.

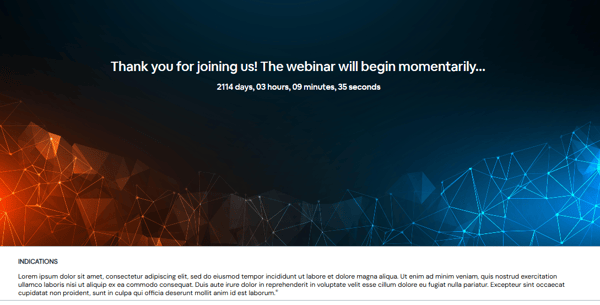
When attending your event, your audience will be able to see this message in your waiting room, webinar room or both locations. Below are examples of a custom footer:
Note: The Custom Footer height has been set to 20% in the screenshots
Inside the Waiting Room:
Inside the Webinar Room:

Custom footers in the classic admin
On the Manage Webinar dashboard, scroll down and click the Custom Footer section in the left hand navigation menu.
