With scenes, you can arrange multiple layouts on one simple screen and use customizable options including lower thirds, logos, overlays, and backgrounds to enhance your webinar. You can pre-build scenes before your webinar starts or create them in the live room. Below, you’ll find a step-by-step guide on how to set up Scenes for your next webinar or event.
Note: This is an Enterprise feature and requires an Enterprise license to access. To learn more, please contact sales@bigmarker.com or your BigMarker custom success manager
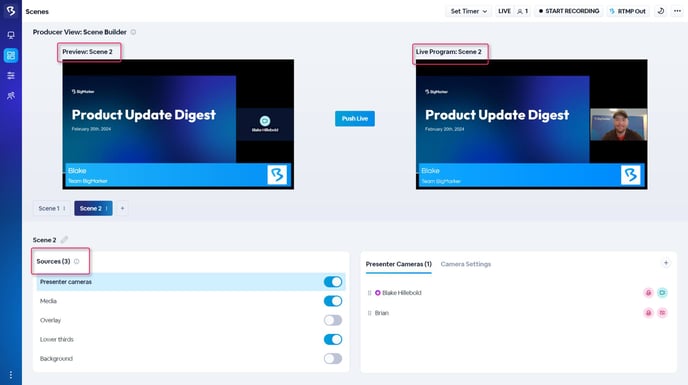
Before your webinar goes live, you can set up Scenes in the preview webinar room. It can also be managed during the live webinar or during preparation time. Once inside the room, go to the Scene Builder tab on the left navigator in Studio preview.

Click the “+” button to add a new scene or to use a scene template.

You can create templates of scenes by clicking the vertical ellipsis symbol next to the scene then “save as template”. Templates can be found on your BigMarker home page at the bottom of the left navigation menu.

Scene templates in the home dashboard:

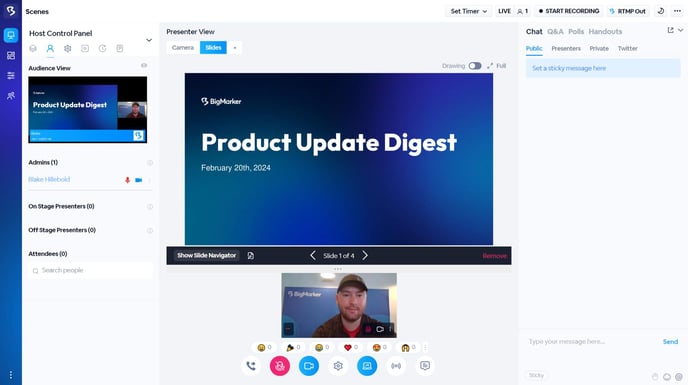
All of the features that are available to edit within Studio Scenes are also available elsewhere in the presenter and producer views of the Studio. With Scenes, you are able to bundle all of these design and content features into one action.
Studio Scenes can be configured to control:
- Presenters - who is and isn’t on camera and/or microphone
- Content - what video, presentation or audio is playing in the webinar
- Design elements - what and how overlays, logos and lower thirds appear
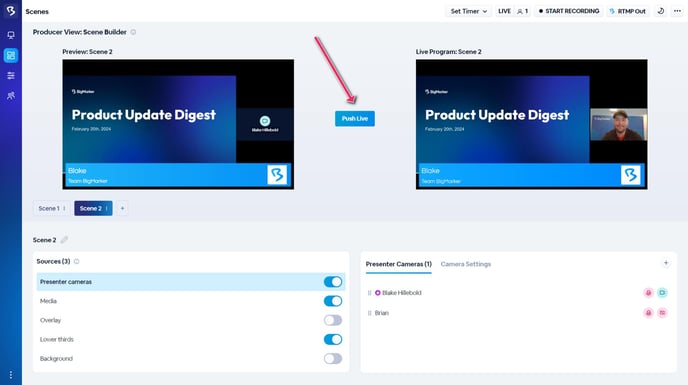
When you’re done creating your scene you can click the “push live” button to share the customized scene with attendees.
Important factors to keep in mind
- When managing webcams: Whether a presenter or attendee with mic/cam access is in the green room, hidden from the attendee view, or off-stage with camera off, if their camera is ON for a scene and scene is pushed, they'll be brought on-stage with their camera ON.
- If presenters or attendees with mic/cam access are brought to the green room or off-stage , they can be associated with a scene as well. You will see their name appear in the Presenter list
- When you copy your webinar your scenes will carry over to your new webinar.
- Scenes are dynamic. If content is shared by admins or presenters in the Presenter tab of Studio, it will override the scene setting. You will need to go back to the scenes tab and push the scene live again.
Learn more about studio scenes by watching this video walkthrough: